What goes into making an art doll
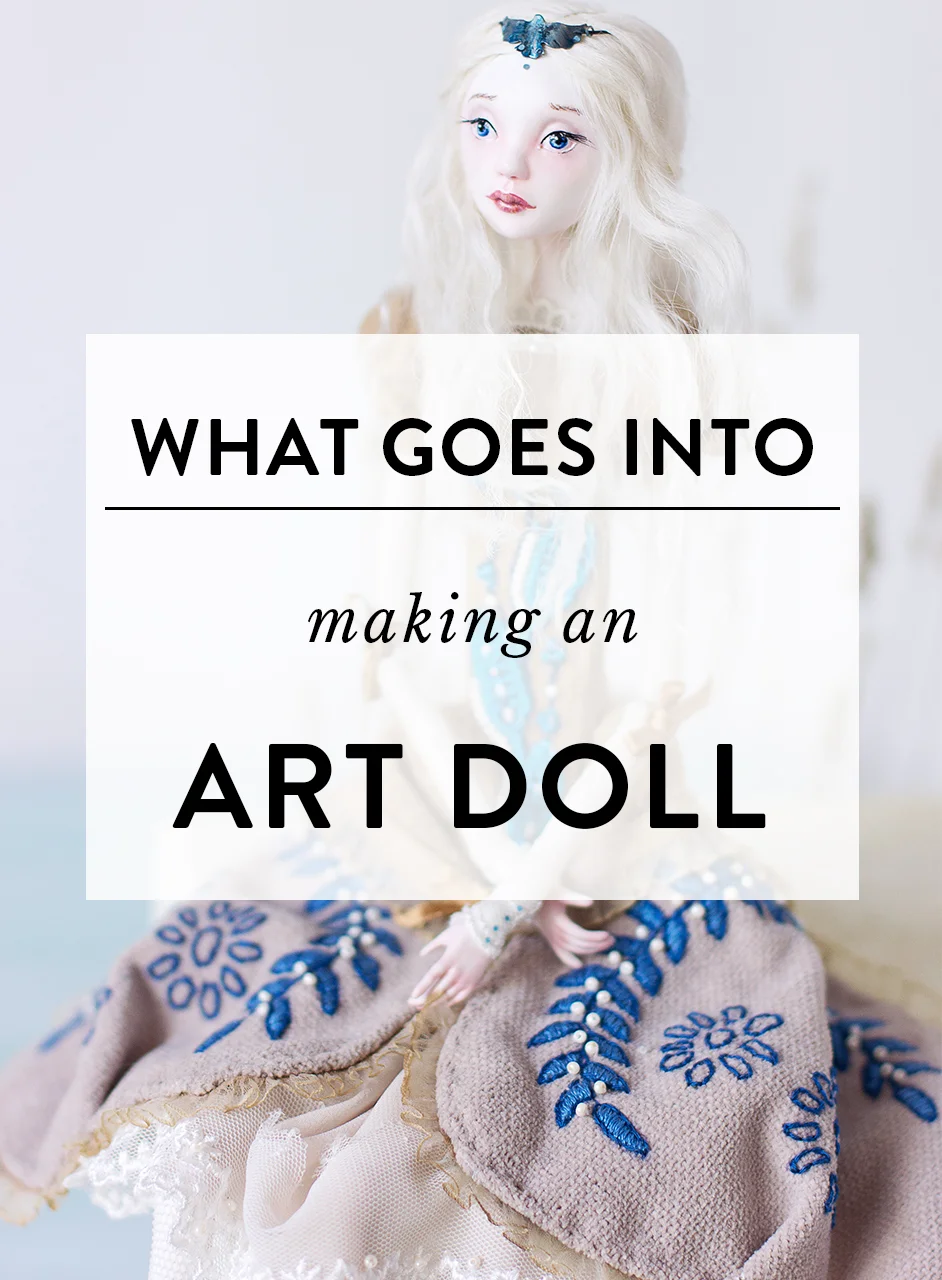
Doll making is such an incredible craft where so many different skills and art forms meet to become something extraordinary. It’s definitely a highlight of my path as a doll artist, that I get to sculpt, paint, design costumes and create characters in one object! Some of this work can be invisible for the viewer of the finished piece and that’s a shame. So today I want to raise the curtain and talk about each step that goes into creating an art doll.
Making a sketch or a blueprint
As with most pieces of art, it all begins with an idea. I really like to make sketches, create mood boards and search for inspiration online. Sometimes I get the ideas so unexpectedly that sketching really helps to remember them later. Once I have a rough idea for a new doll, I start to get a little bit technical with it. Thinking about the construction, patterns for clothes, measurements and all that stuff.
Sketches for stationary art dolls and blueprint for ball-jointed doll
At the beginning of my journey as a doll artist, I was creating stationary art dolls that didn’t have moving parts and were sculpted on a stand. For these type of dolls, I concentrated my attention to overall character, clothes, hairstyles and idea behind all of that. Now I’m making more intricate ball-jointed dolls which consist not just from visual appeal but very functional and technical elements as well. Creating a blueprint is an essential part of ball-jointed doll and sketching ideas became more of the secondary thing for me.
Sculpting
An essential part of creating an art doll and probably my favourite as well. There are so many different techniques and materials to choose from, but from very early on I settled on air-dry clay and never looked back. At this point, I create a base - wire armature for stationary dolls and styrofoam base for ball-jointed dolls. Having a good base really helps with the sculpting process. For example, keeping the proportions as intended, making your sculpture stronger or even saving some clay.
Usually, it’s the most time-consuming part of doll making for me. It takes a long time to sculpt tiny details like hands or feet and resculpting some features until you’re satisfied with the result. For stationary art dolls, it would take me about two-three weeks to sculpt the whole doll, for a ball-jointed doll, it can be as long as half a year or even the whole year if I’m working on other projects at the same time. So when I’m saying that’s a long process, I mean it, haha.
Sanding
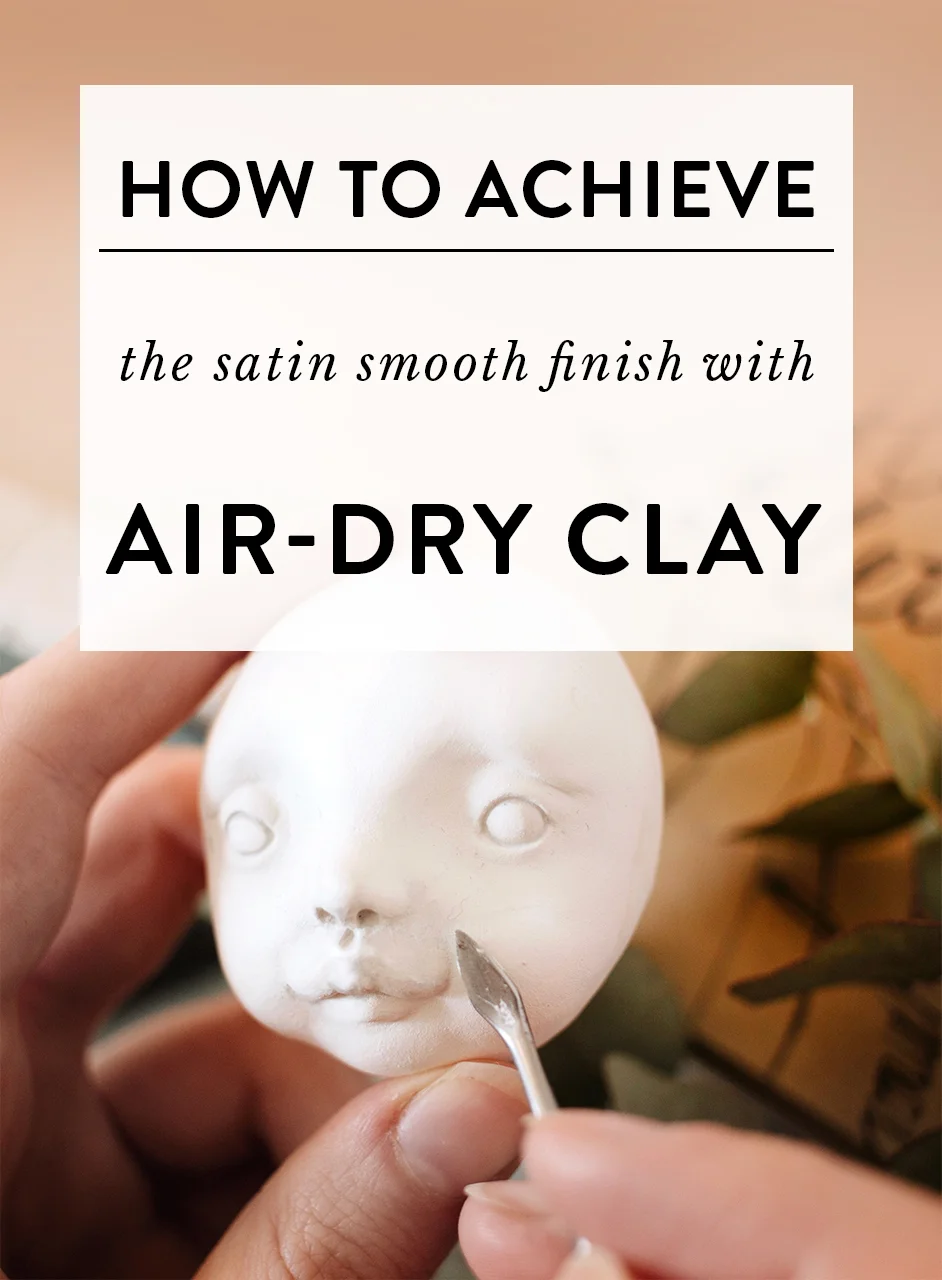
Once you have a beautifully sculpted piece it’s time to give it a good polish and make it smooth, uniform and simply perfect! Actually, I really dread this step every time I create a new doll. All the dust, dry hands and constant fight with those tiny clay imperfections that drive me nuts, can be exhausting. I have a few tips on how to make it more pleasant when you’re trying to make air-dry clay silky smooth and pleasant to touch. Give it a read!
How to smooth the surface when sculpting with air-dry clays?
It doesn't matter if you're just starting out with air-dry clays or have been sculpting for years, you probably encountered the nightmare of fluff. What I call fluff is the tiny fibres that are in the composition of clay. When the clay is wet, those tiny fibres are not very visible, but when the clay starts drying and when you start sanding, the fluffy particles reveal themselves in all the glory, haha. So today I'm going to share a few steps that I take to give my dolls the satin smooth finish. It took me years of experimentation to find what works so I hope you'll find it helpful!
Painting
I think this one is the most relaxing part of creating a doll. You’ve done all the hard work and now you get to have so much fun with it and breathe life into this new creature! For painting, I use ground soft pastels very often. Paired with a few coats of matt varnish it gives such a natural blush and lifelike texture of the skin. To paint the features I like to use a mix of watercolours and acrylic paints. When it comes to ball-jointed dolls, which in my case are made from porcelain, painting is a whole new ordeal which involves China paint and firing it in the kiln! You can read more about it on my website dedicated just for porcelain dolls.
Costume making
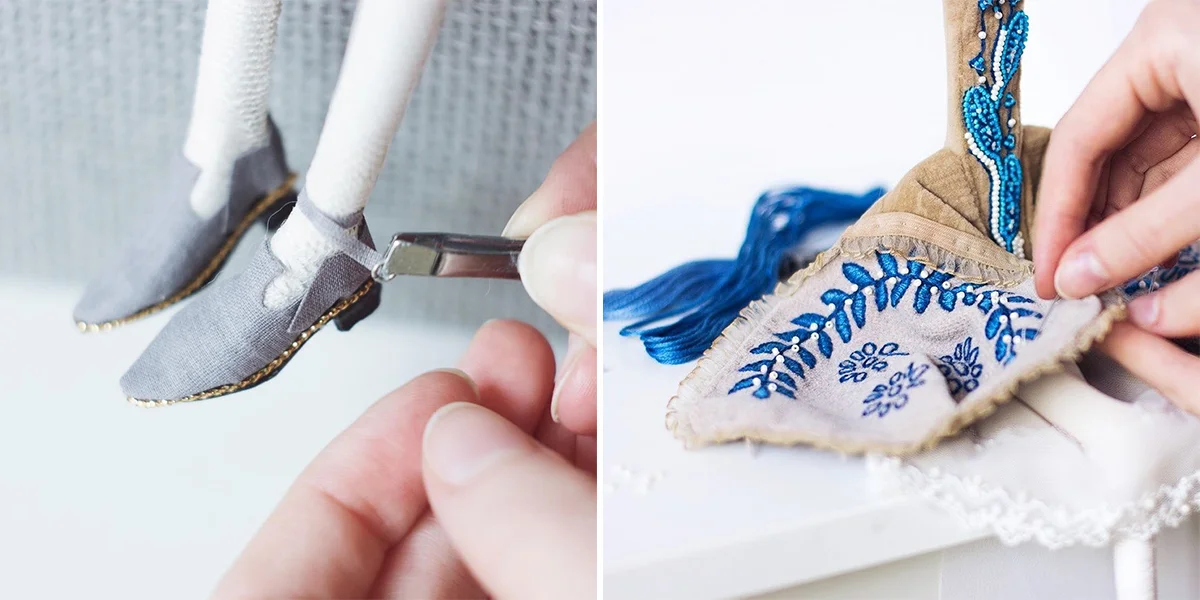
In my opinion, costumes not just look great on dolls but give so much character to them. You can tell a whole story with a set of intricate clothing. It’s truly a dreamy process: soft fabrics, complex embroidery, tiny beads and beautiful colours, all come together to compliment the doll you’ve just made. I like to use some antique sewing patterns and merge them together with more contemporary designs. Aways finishing up with embroidery and beading! I really can’t help it when it comes to beads, it’s almost therapeutic to sew them one by one and observe how they glisten in the light.
Packaging
Once you finish the doll, the actual work is not done yet. Because of the extraordinary nature of dolls, you have to think not just about how to make the packaging pretty but to make it safe for the doll as well. Most of the dolls are quite fragile and if you sell them online, it’s very likely you’ll need to ship them to the new owner. My packaging design contains very soft cushions, secure ribbons to tie the doll and a sturdy yet beautiful box. Then all this parcel goes into another box that is made from a few layers of cardboard which will withstand the unpredictable forces of the postal system, haha.
I hope you've enjoyed this summary of a long and very rewarding process. If you want to learn how to create stationary costumed art doll, visit my online courses and see if it intrigues you. Don’t hesitate to leave a comment if you have any questions or remarks. Happy doll making, my loves!


