
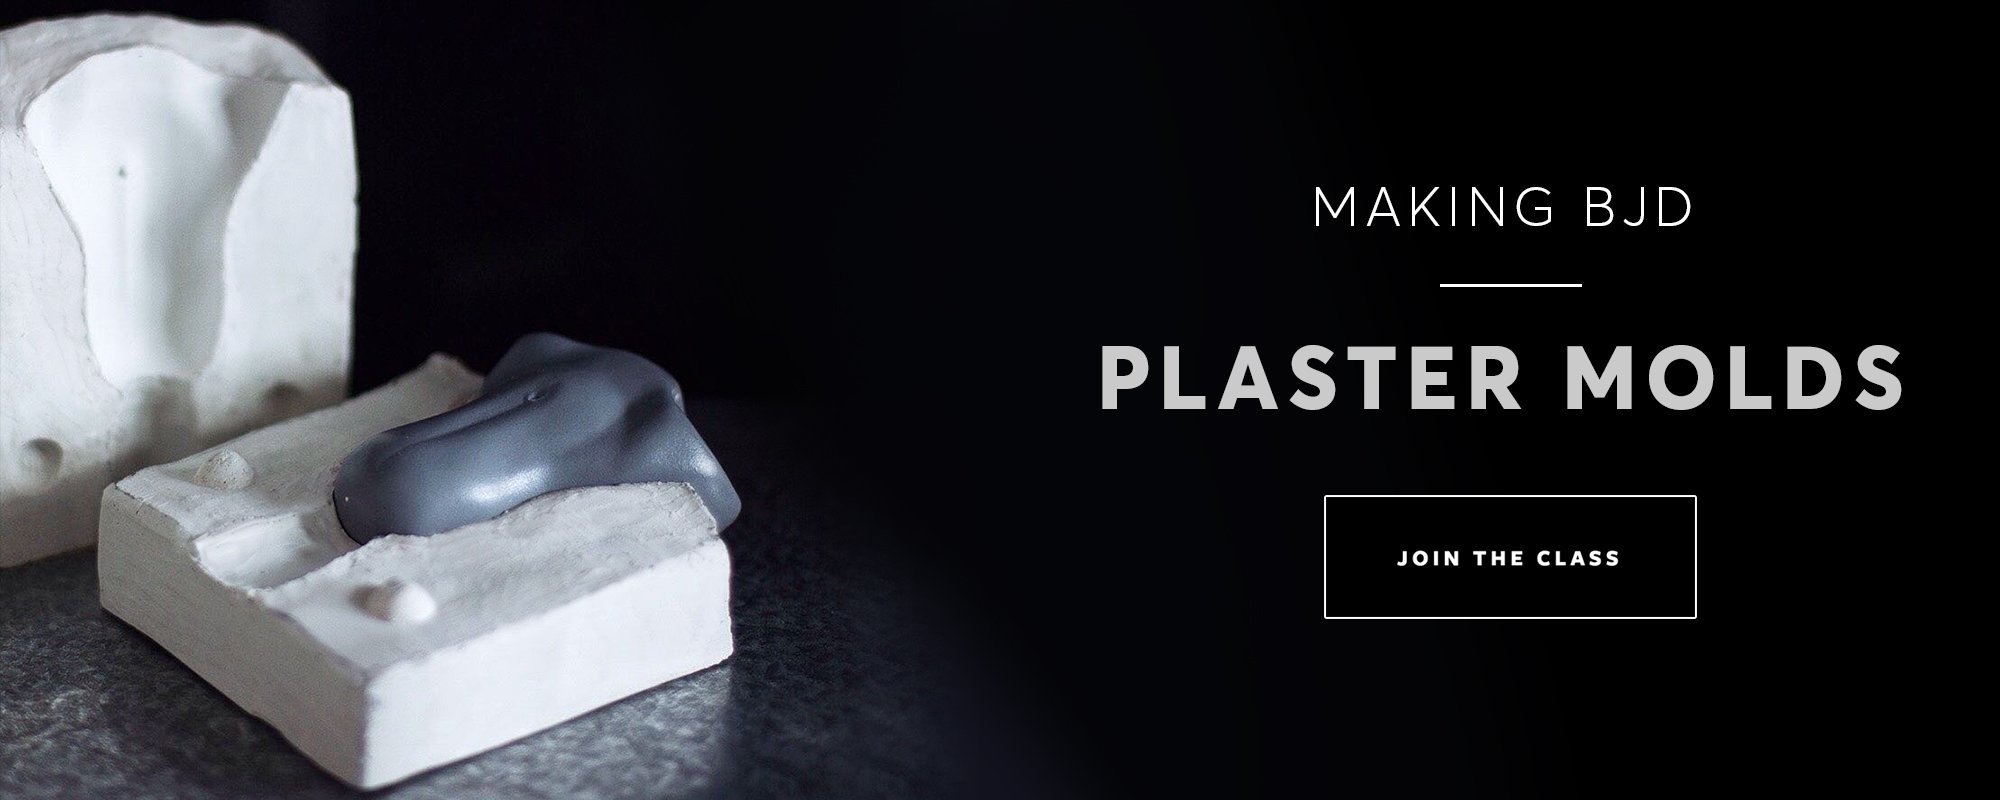
Casting doll parts with air-dry slip Flumo
Replicating and casting doll parts can significantly speed up the process, especially if you’re working with ball-jointed dolls. Even for one-of-a-kind art dolls, molds can be tremendously helpful. I remember I had a few different hand molds, so I wouldn’t need to sculpt hands for every new doll. But casting porcelain or resin dolls usually comes with many investments, so today, I want to show you an easy, inexpensive way of casting doll parts with air-dry slips.

This post contains affiliate links and I will be compensated if you make a purchase after clicking on my links. I wouldn’t promote anything I don’t absolutely love!
Molds
Every casting method requires molds. For resin dolls - silicone molds. For porcelain and air-dry slip dolls - plaster molds. They are considerably different, and if you want to learn how to create your own plater molds, I have a course just on that!
Plaster is very porous, so plaster molds absorb the water from air-dry slip (or porcelain), letting the doll part harden in the mold. Once you get the hang of it, the casting process becomes quick and easy. So let’s see how it works!
Casting with air-dry slips
In this article, I use Flumo air-dry casting slip. I’ve tried Li-qua-che slip as well. But I’m sure many others would work.
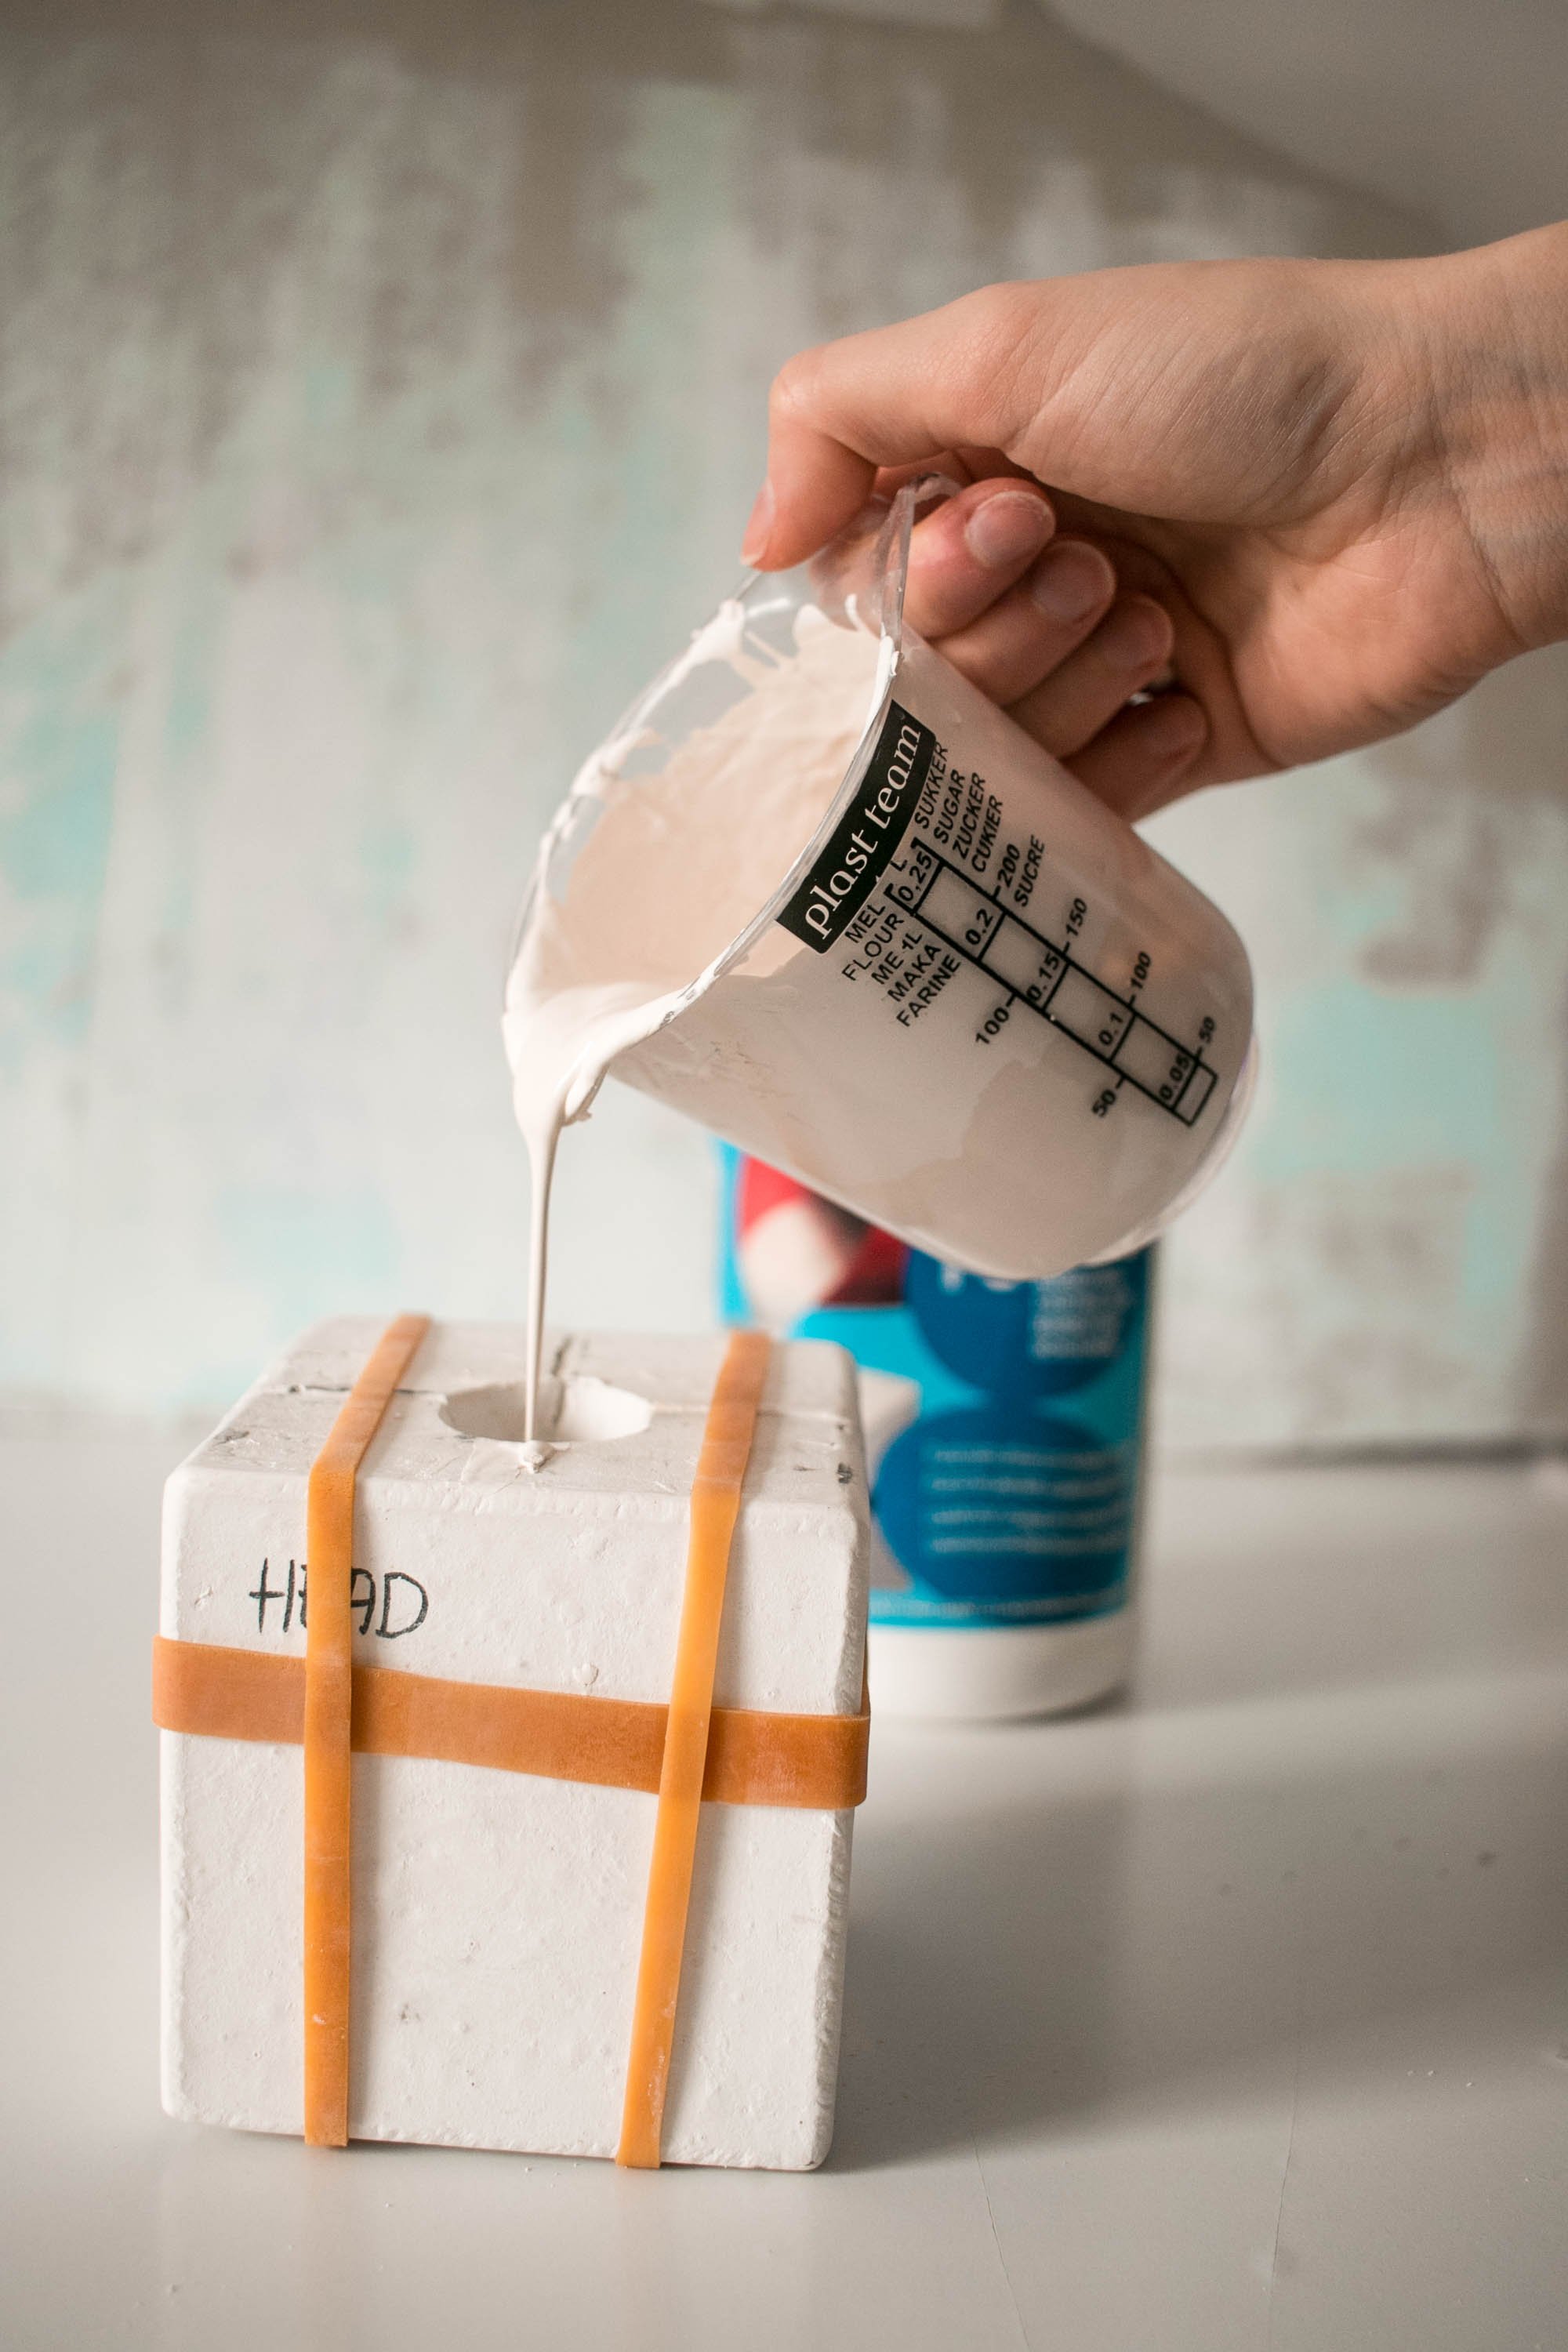
Prepare your mold and secure it with rubber bands. Fill a smaller measuring cup with the casting slip. This way, it will be easier to control the pouring. Make sure your slip is mixed well, doesn’t have any lumps or a lot of bubbles. These things might damage your end result.


Pour the slip into the mold until it’s completely full. The slip will begin to harden around the edges - this might take about 15 minutes. But always read the label on your slip for the best results.

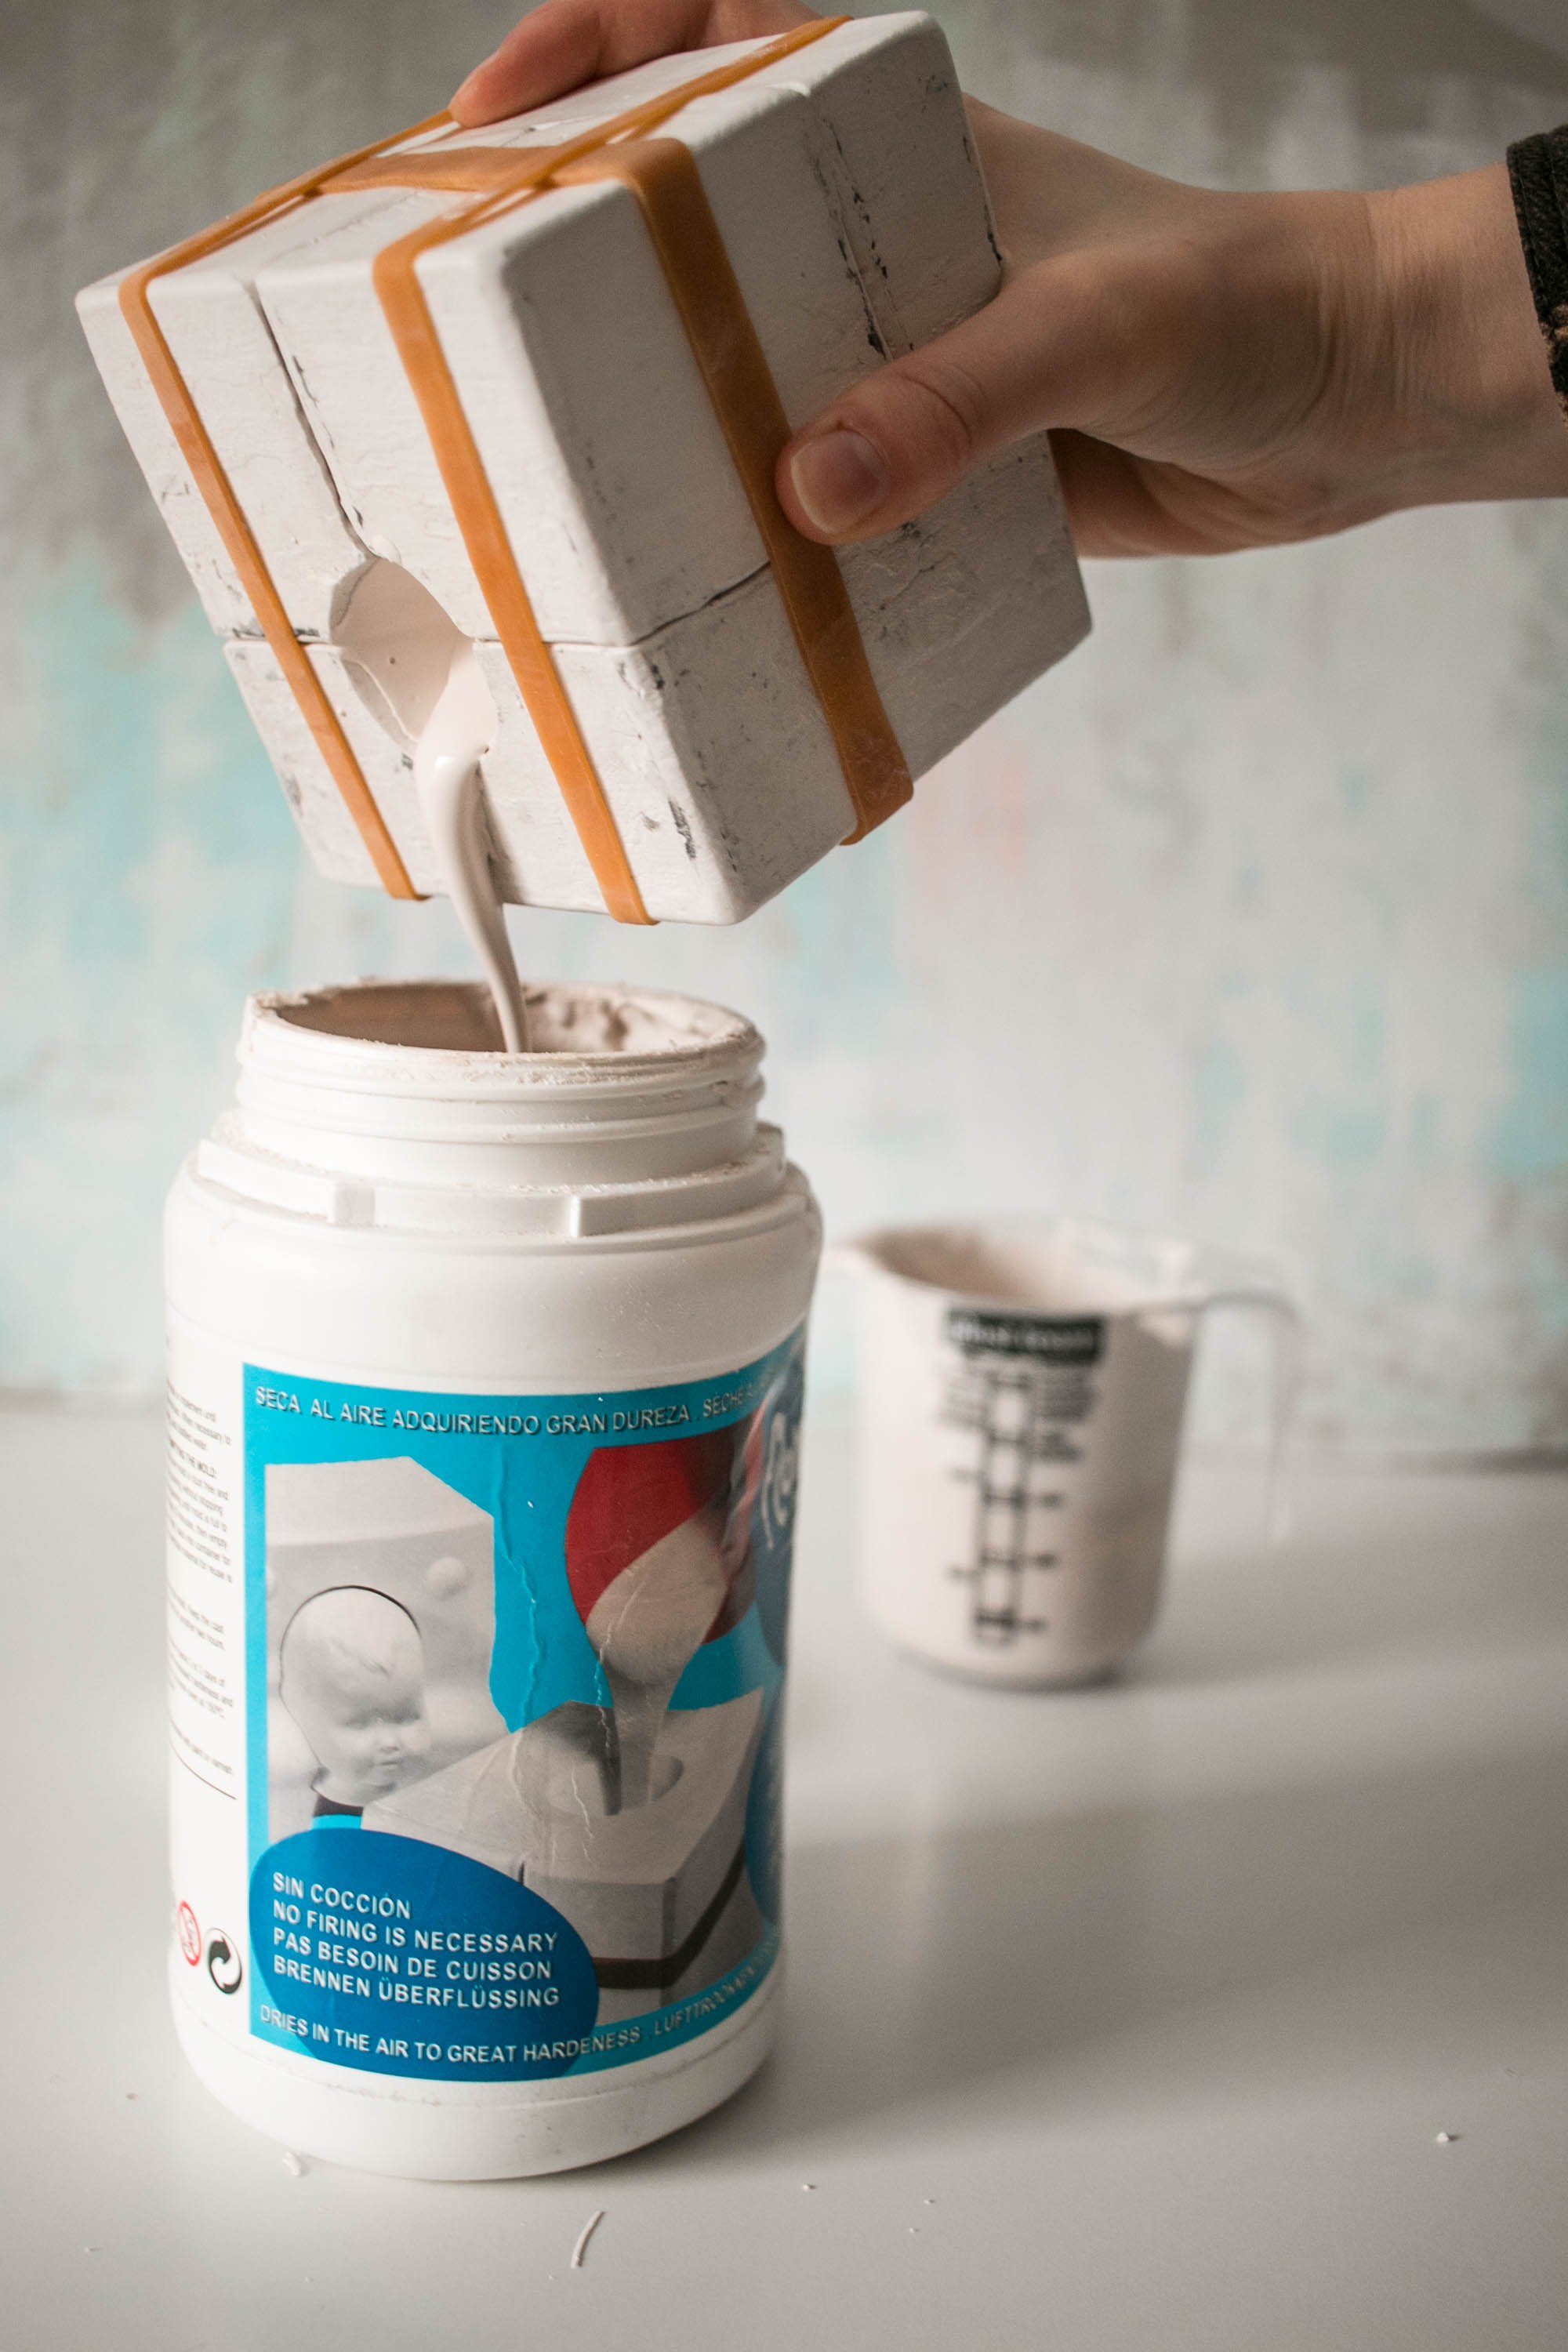
After 15-20 minutes, pour the remaining slip out of the mold. This way, you will have a hollow doll part that will be sturdy but lightweight at the same time. Another sign that the mold is ready for pouring the slip out is the opening at the top. You’ll see how the slip sinks lower and lower as the plaster absorbs water. After a few tries, you’ll be able visually to tell when it’s ready to pour out.

Don’t open the mold right away. Let the slip harden for at least 30 minutes and up to an hour. I leave mine upside down so the remaining slip could drip if needed.

Open the mold, and you have your replicated doll part! As the slip is not completely dry yet, the pieces will be quite fragile. At this point, I like to gently remove the seams and larger imperfections, but I leave the detailing and sanding for later. Typically, some details will be lost in the mold-making and casting process. Once dried, the air-dry slips are easy to sand and carve if needed!


I hope this was helpful, and you will start casting your dolls with ease. Let me know if you have any questions in the comments below. If you need help with making plaster molds, make sure to check out my class on mold making.