
Doll artist's studio tour
Let me begin just by telling you how grateful I am for everyone who supports me by purchasing dolls, doll making classes, tutorials or just spreading the word around. Just because of you guys, I can rent a space for my doll making adventures! I’ve been renting a studio for a few years now and it was probably the best investment in my career. Just by separating my home life from my work life, I’ve become much more productive and much happier as well. Having a dedicated work space, you’re able to free your mind from such things like tidying everything after each work session and stop worrying about art supplies taking over your living room. I understand not everyone can afford to have a studio. Try to work with what you have and find some space at your home that could be just for your art and nothing else.
Space
My studio is pretty small just 20 m² ( about 215 ft2) but suits me very well. I mean, doll making is not a very grand art form, haha. It is shaped as a narrow rectangular with low ceilings and one small window. Lightning in the winter months can become an issue, so I use a lot of bright desk lamps.

Because I wasn’t able to take good quality photos of the whole space, here’s the studio plan to better understand the space I have.
Main working area
Most of the furniture in my studio is from Ikea, I know, what a shocker, haha. I do most of the work on this pretty big table (I believe it’s called MELLTORP), which has a sturdy metal frame and more solid tabletop than other Ikea furniture.
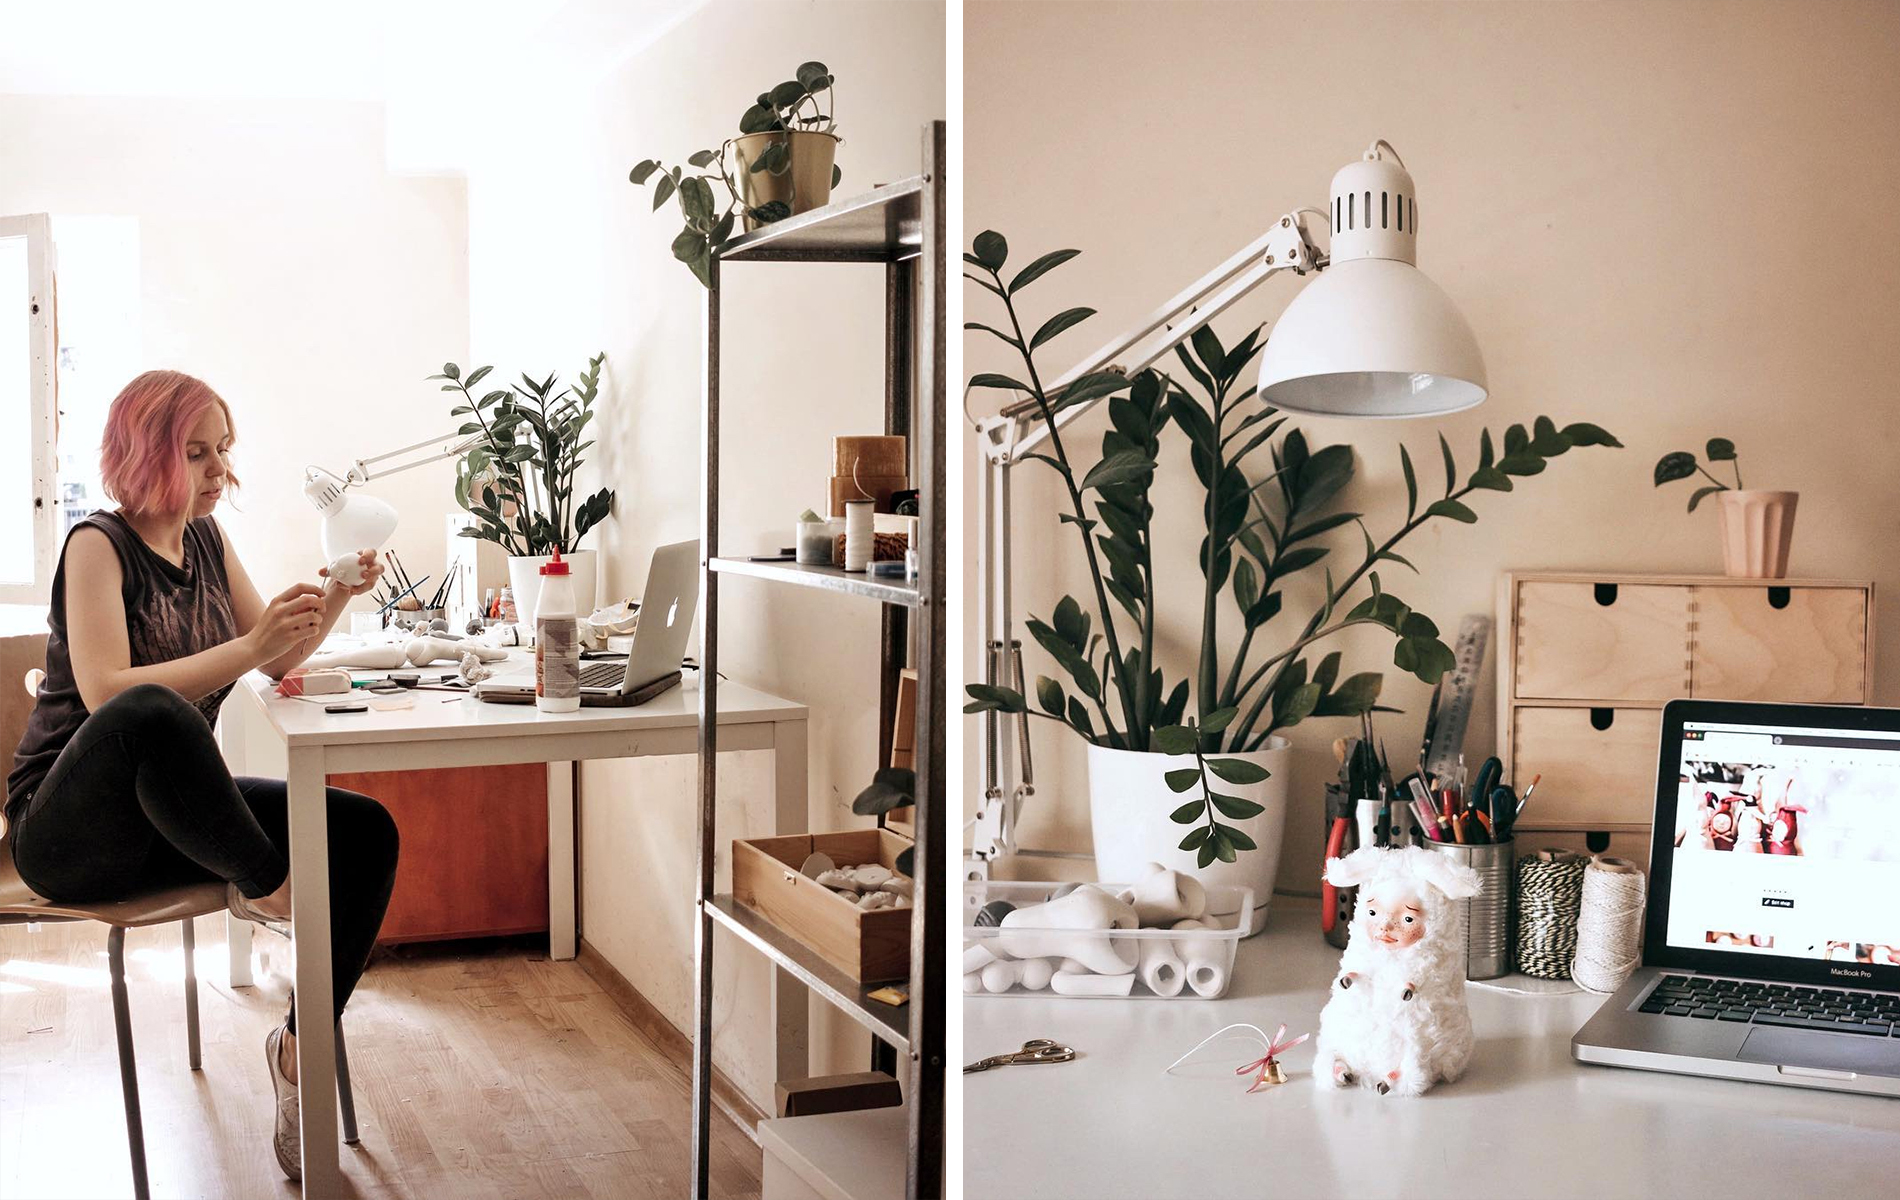
I move things around constantly, so sometimes my desk is a complete mess of ongoing projects and supplies, other times it’ll be pretty tidy - just a computer and a few dolls waiting to be shipped.
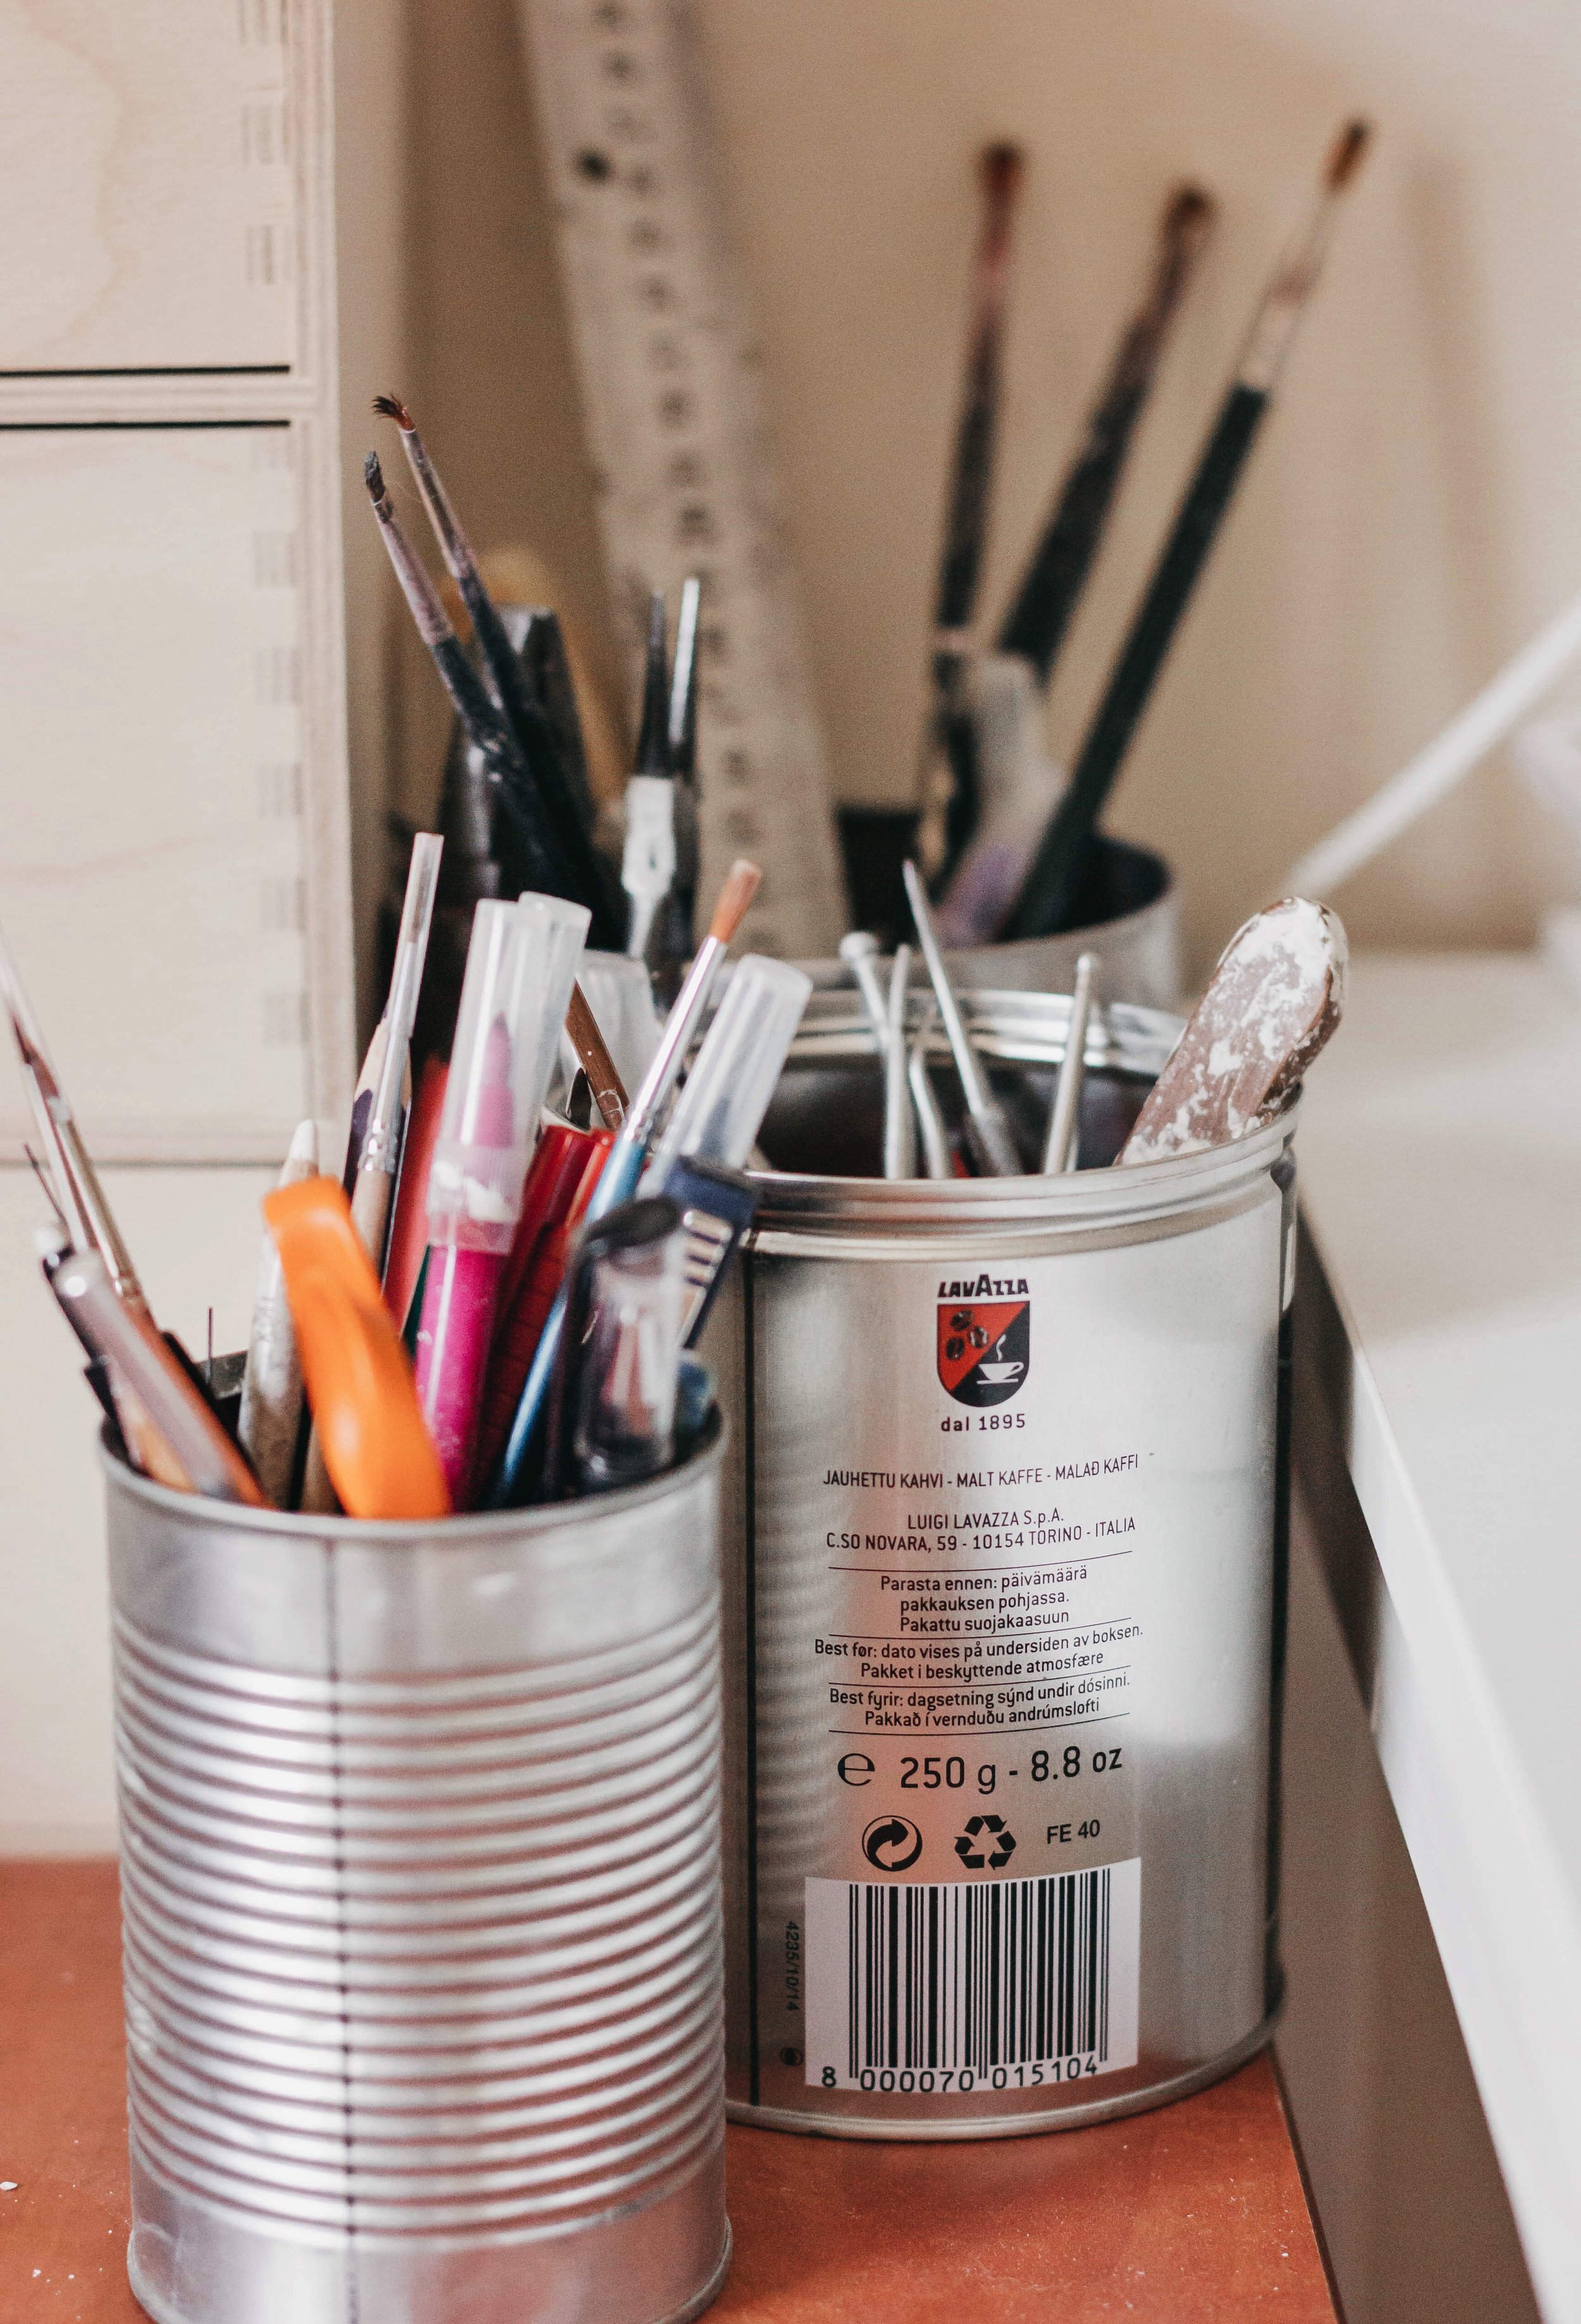
Reuse when possible!
These cans work very well holding my pens, brushes and sculpting tools.
Shelves
I have two galvanised steel shelves from Ikea. The shelf near the main working table holds my most used things like doll faces, some packing supplies, printer and a few knick-knacks.
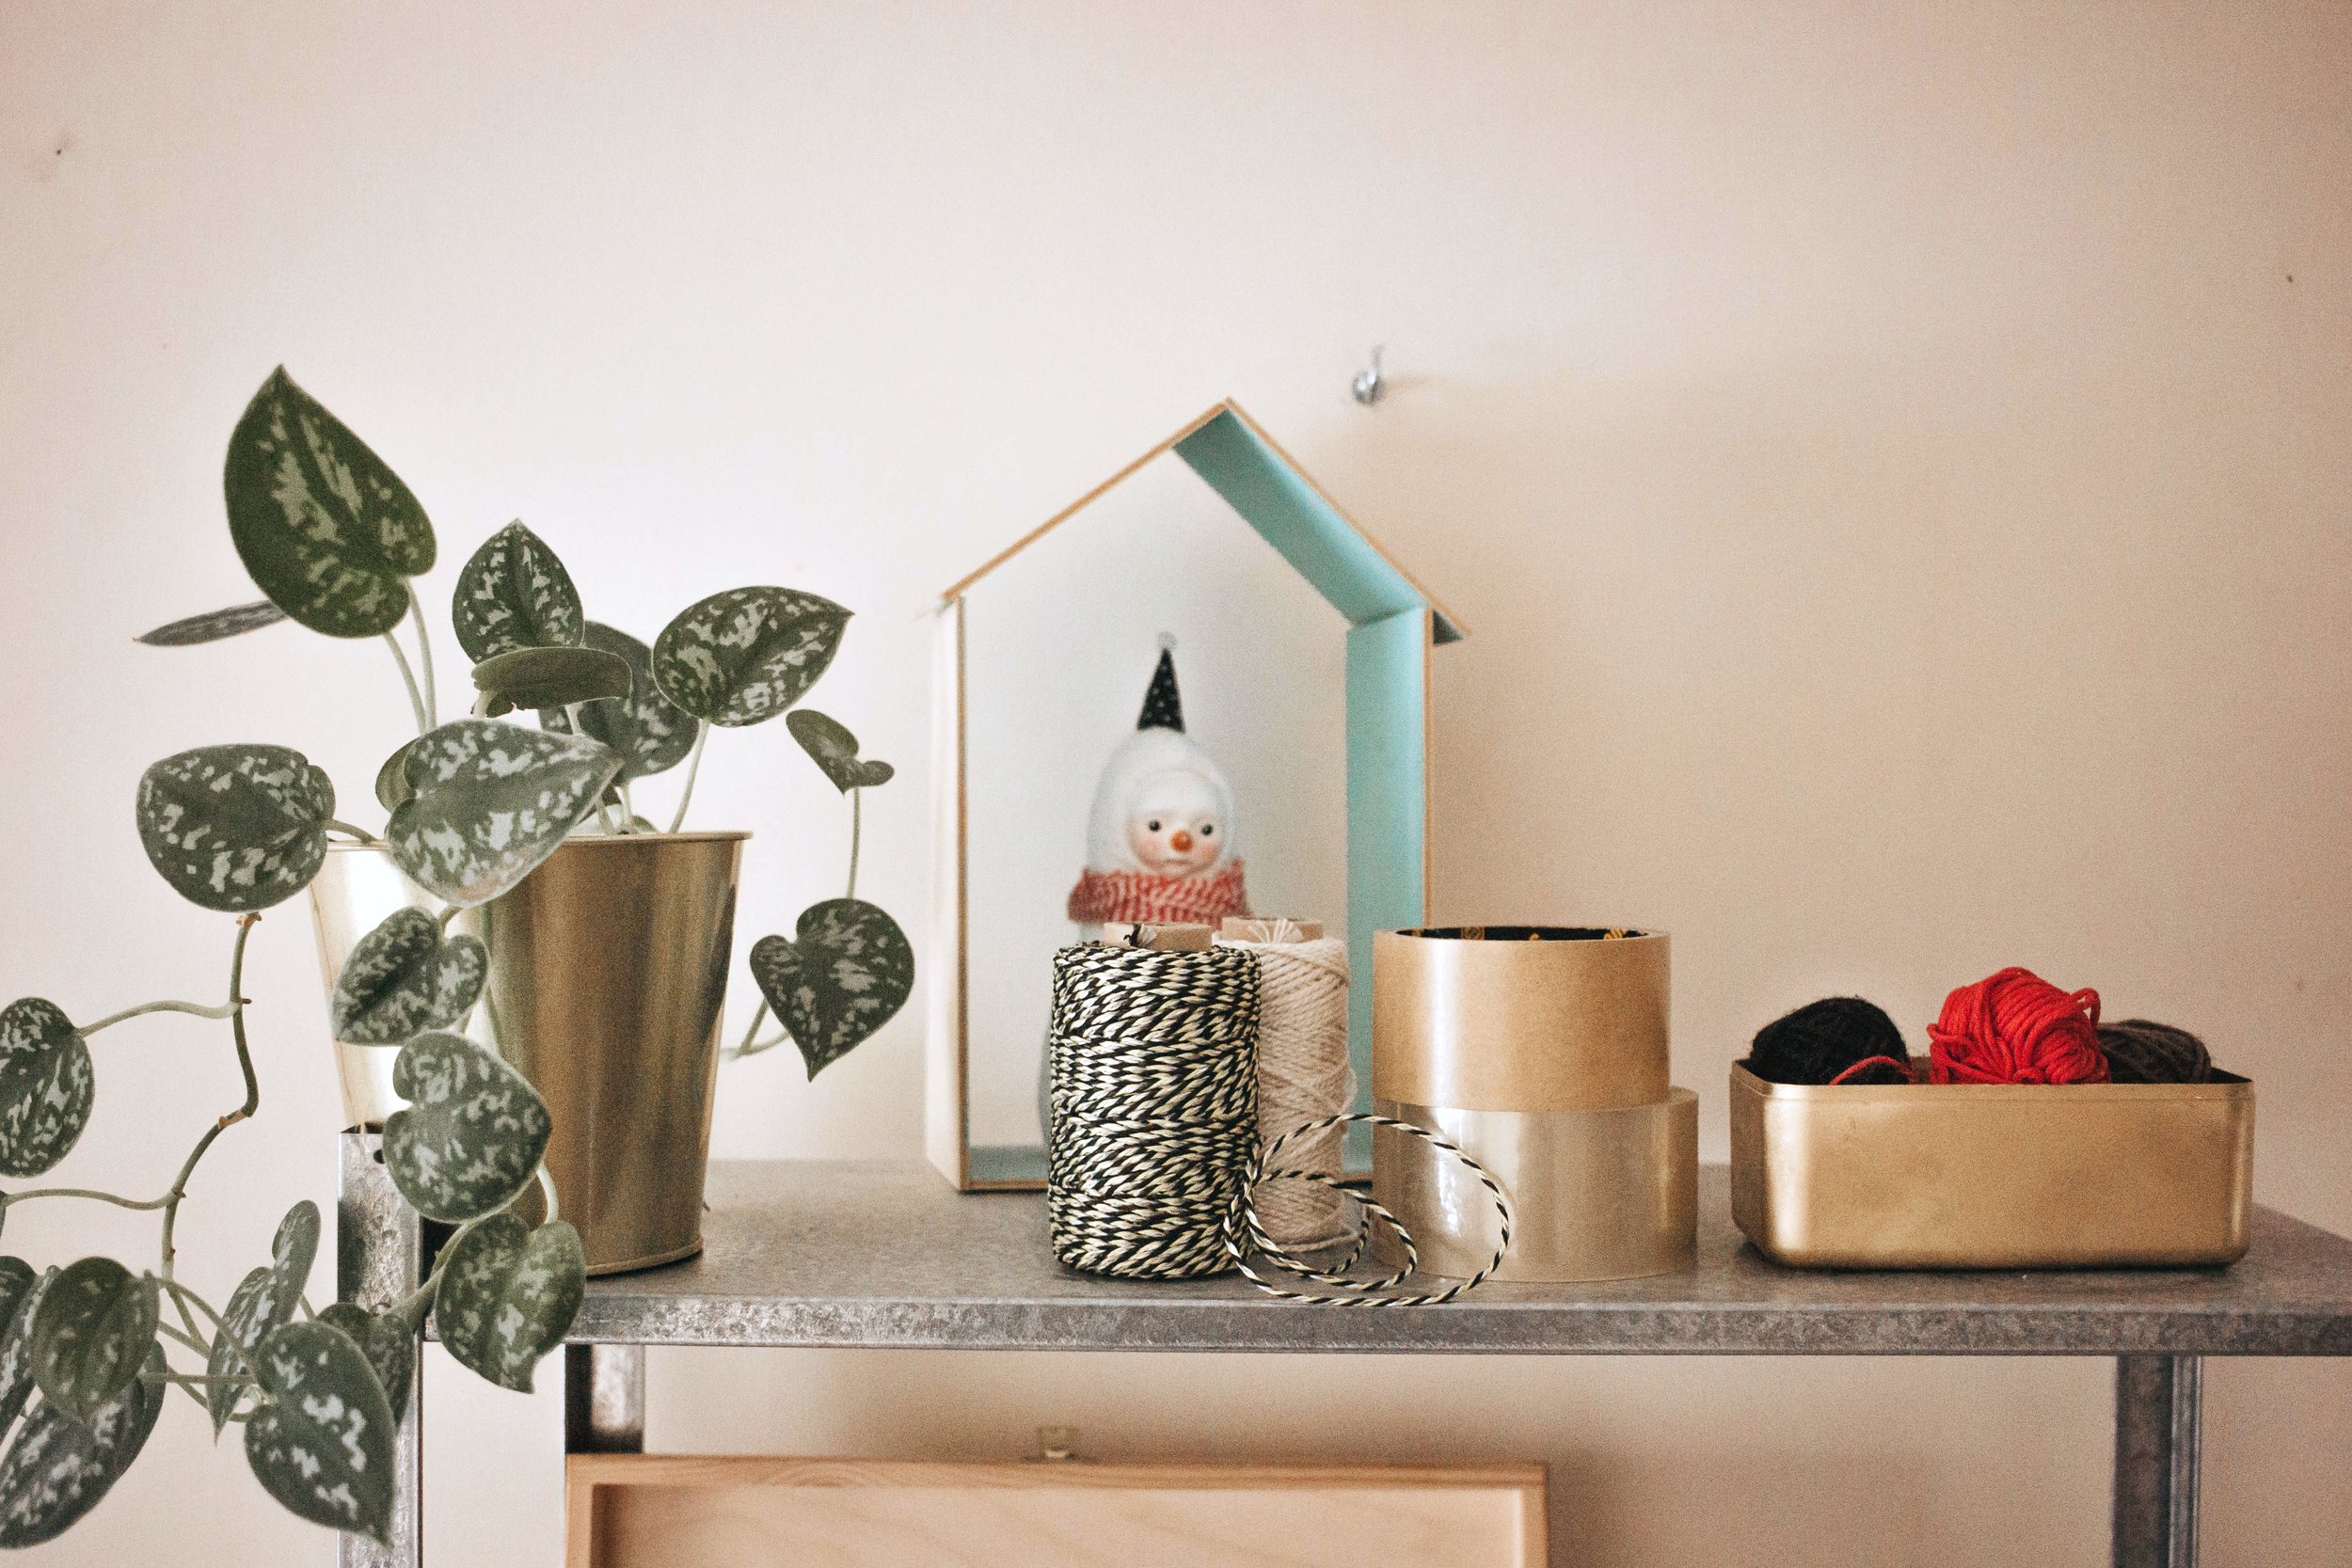
I love using these twisted strings for wrapping orders! Looks very simple but adds a nice touch to the doll box.

This wooden box holds blank faces that are ready to be painted and used for making plush dolls.

Paper corner
In this little corner near the shelf, I keep all the wrapping paper, backgrounds for photography and some random pieces of cardboard.
Another shelf is positioned near the window and holds some books, old painting I did in art school and other stuff I don’t use that often. I keep it relatively empty so I’d have some free space for future projects or tools.

This is the only window in my studio and it’s pretty tiny, haha. In summer months there’s enough light, but in winter I’m keeping the lights on all day.
Sewing area
I got this table about a year after I moved in. Having the sewing area separate is incredibly helpful. You don’t have to move the sewing machine constantly, worry about the dust from clay getting in. Also, it’s a lot easier to keep the whole area clean and ready for sewing!


I keep all my fabrics in this shelving unit
It’s actually very convenient, especially if you don’t have a crazy amount of fabrics. I keep them neatly folded in these boxes.

I love this cute little dish. It holds some most frequently used threads for sewing. Because my colour palette consists of just a few different shades, I don’t need to keep the whole rainbow of coloured threads on the sewing table!
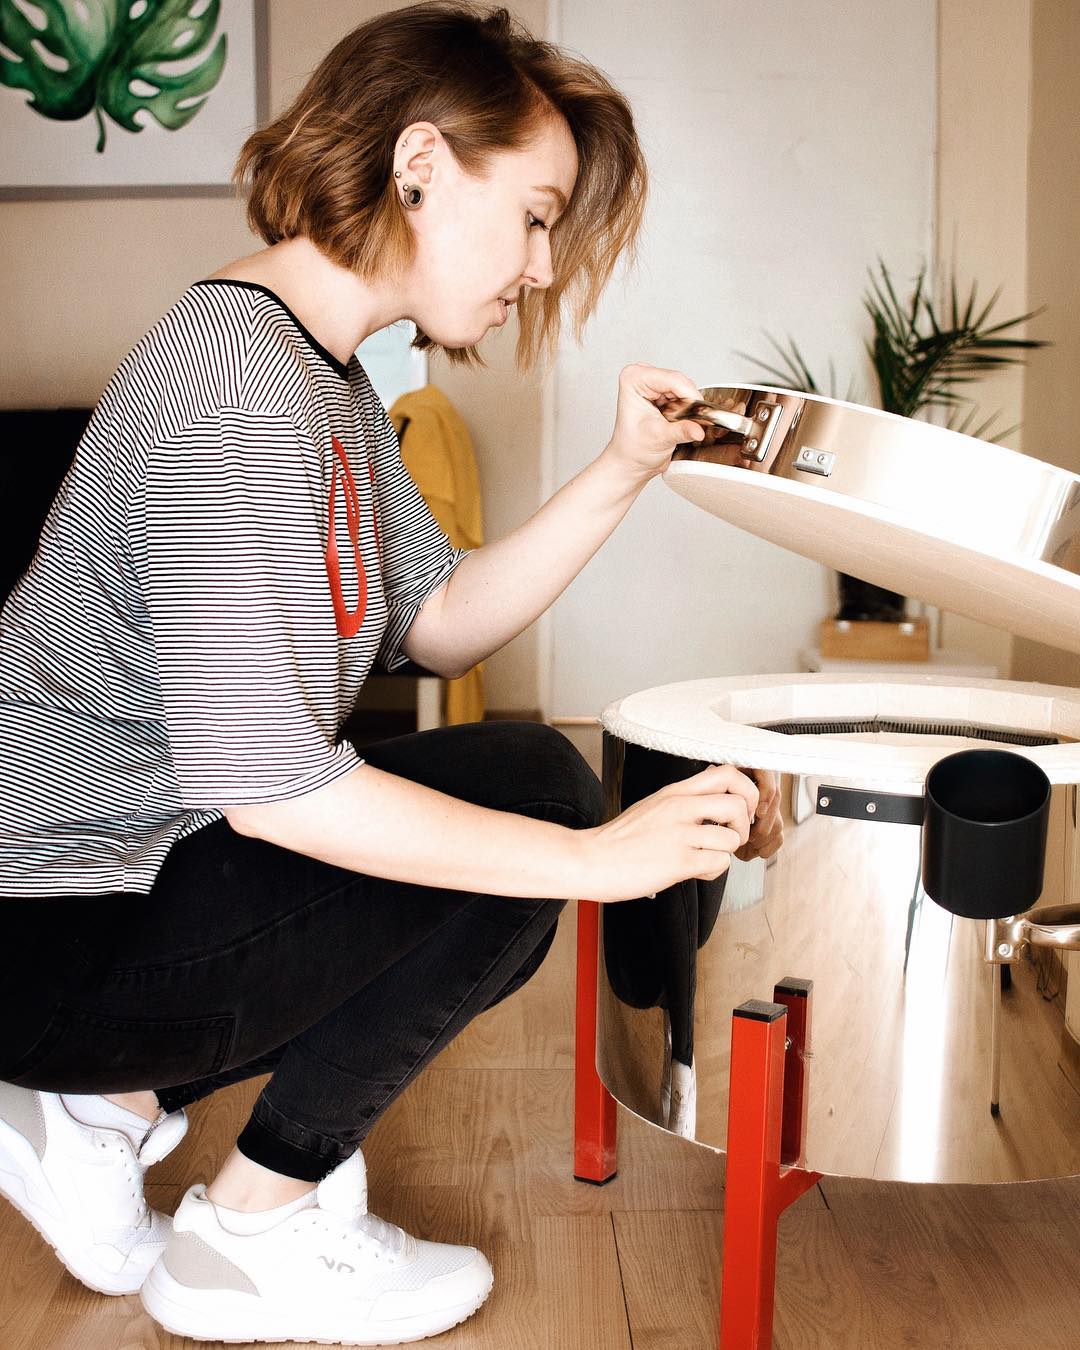
Kiln
The kiln is definitely a highlight of my studio, I love this thing! It’s the most expensive one as well. I use it only for firing porcelain for my porcelain dolls - Nymphai Dolls. After the decision to purchase this beauty, I immediately knew I would need to rent a studio as well. There just wasn’t enough space for it in my flat!
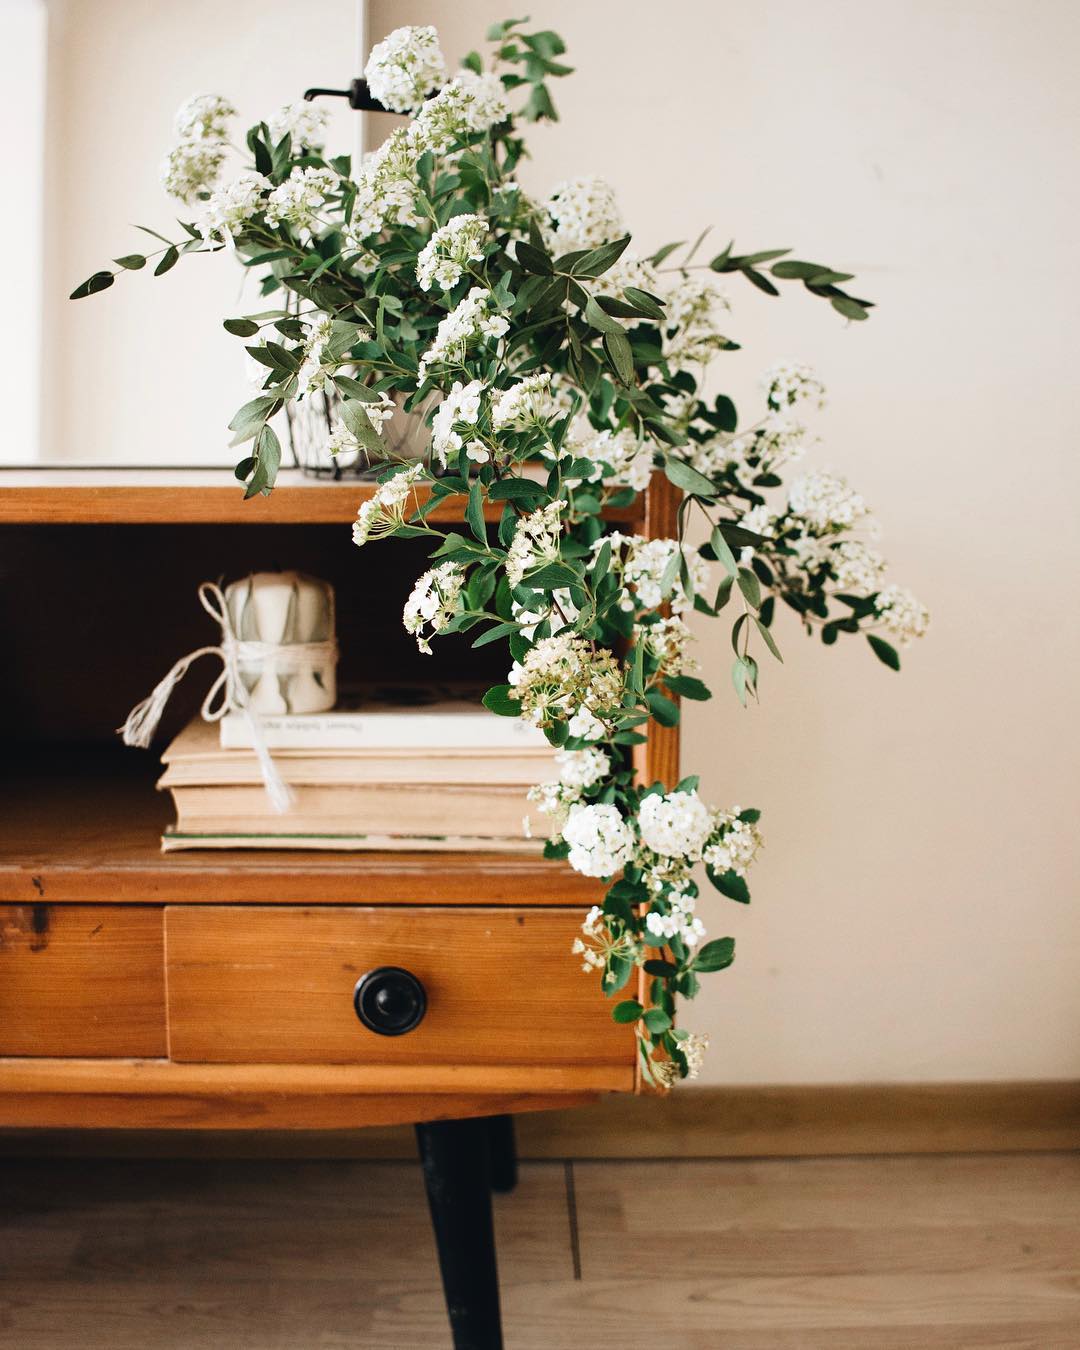
Vintage cabinet
Another prized possession of my studio is this beautiful vintage cabinet. Mostly I’m keeping and protecting it for my future home. I’d love to restore it one day! For now, it holds some props for doll photography, random doll parts and just looks nice, haha.

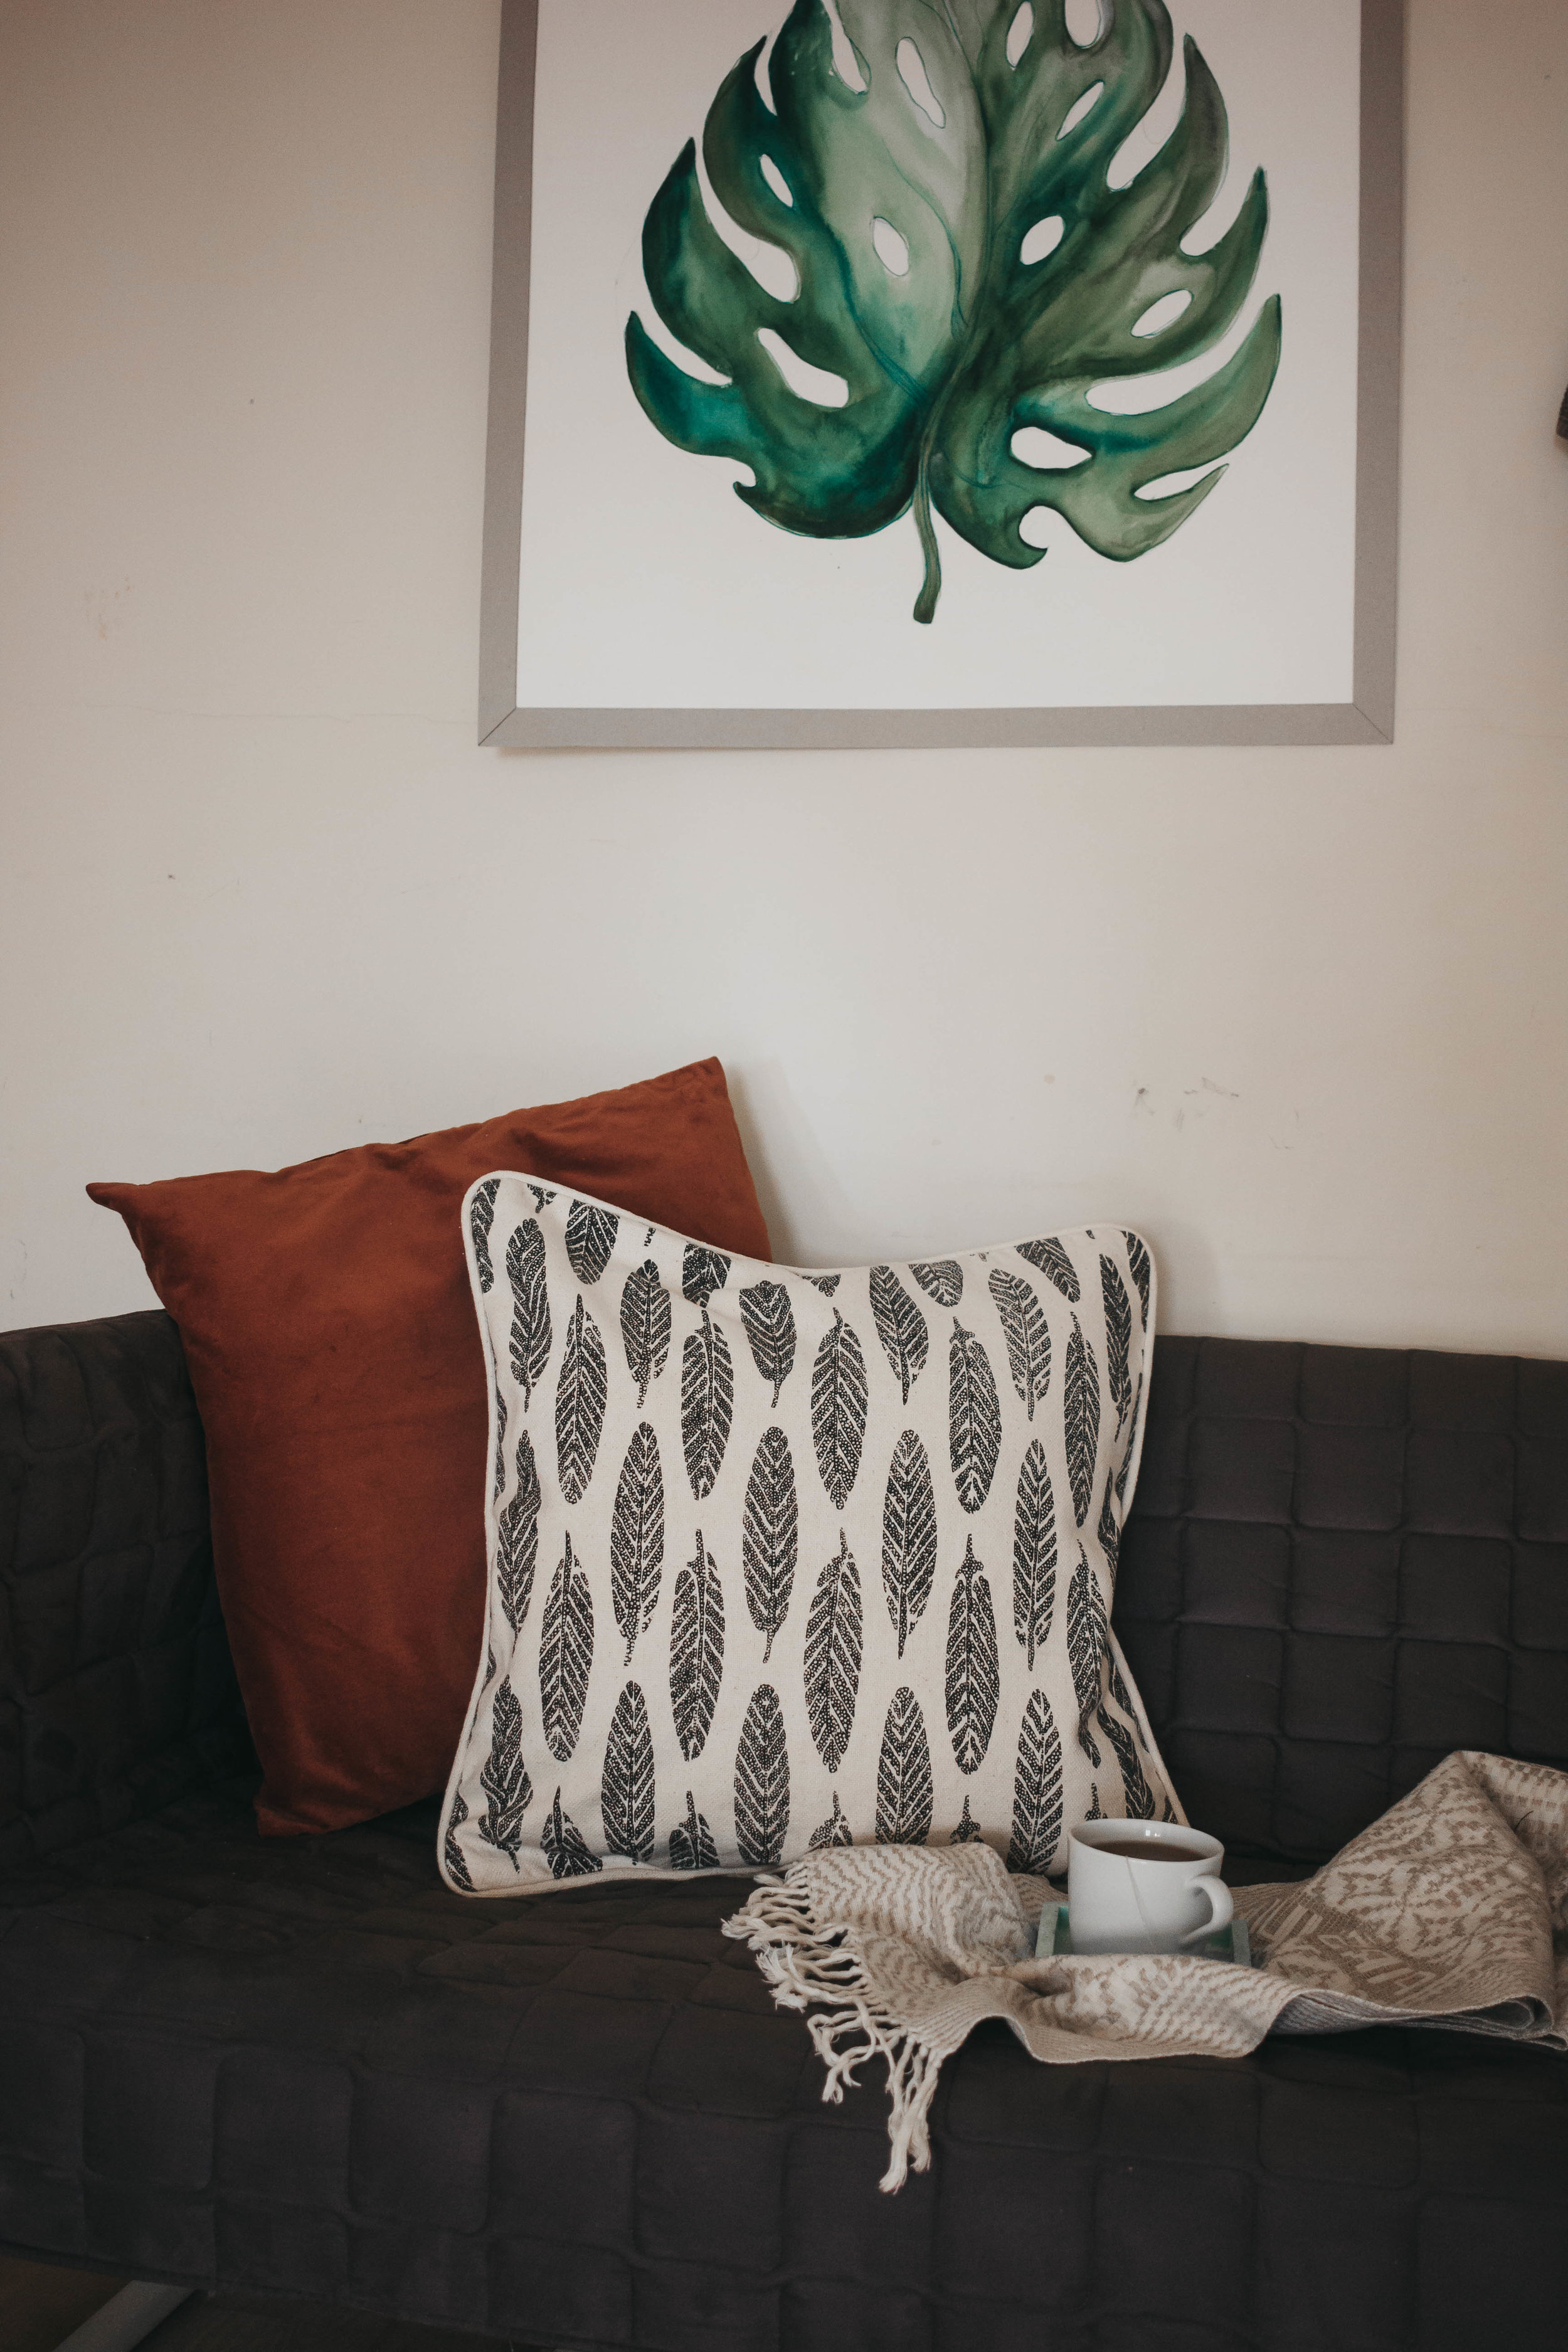
Area for relaxation
When I’ve had all my working arrangements figured out, I wanted to include a little area where I could drink a cup of coffee, seat a guest or two and just comfortably sit while answering emails. I’ve purchased this sofa second-hand, but originally it comes from Ikea. Then I just added a few cute pillows and hung a watercolour drawing I did some time ago.
Well, that’s it, guys! I hope you’ll find this interesting. I wish I could’ve taken more photos of the whole space, but I didn’t have the right lens for that and it was just too dark to shoot with the phone. Let me know if have any questions or observations in the comments below!

How to turn your doll making hobby into a career?
I interact with fellow doll makers on a daily basis. Some of them are students in my doll making classes, some of them are artists who share they work on Facebook groups or Instagram. A lot of them have two things in common: love for doll making and a desire doing it full time.