
How I take photos of my dolls?

Taking photos of dolls is one of my favourite tasks, but it wasn't the case a few years ago. In the past, I'd make a doll that I really love, which looks great in real life, but the second I take the photo, I realise, I can't capture how unique and wonderful this doll is. Because doll making is my full-time job, selling the dolls online was my main source of income. I can't tell you enough how many times people said my dolls looked better in real life than in pictures, and when you're selling online, not in the real life, it becomes an issue. I'm wondering how many sales I've lost just because I couldn't convey how they look in person.
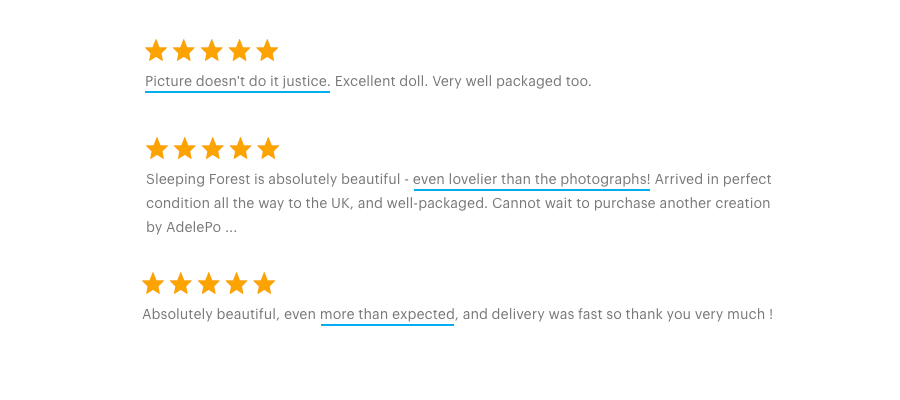
These reviews are from my Etsy shop and they helped me to understand where I need to improve. It took me about six months to gradually get better at photography. I took some classes online, read articles and watched tutorials on Youtube. But the main work was to take lots of pictures. Now I take about 40 pictures of one doll and just 10-13 of them become worth sharing online.
This post contains affiliate links and I will be compensated if you make a purchase after clicking on my links. I wouldn’t promote anything I don’t absolutely love!
The basic technique of taking pictures
I've learned this in craft photography class and it's irreplaceable if you want an easy way of taking pictures in natural light. All you need is a camera, a place near the window, a white piece of cardboard/paper and that's it! Also, I use a tripod for my camera, some props and backgrounds to set the scene. Here's how it looks in real life:

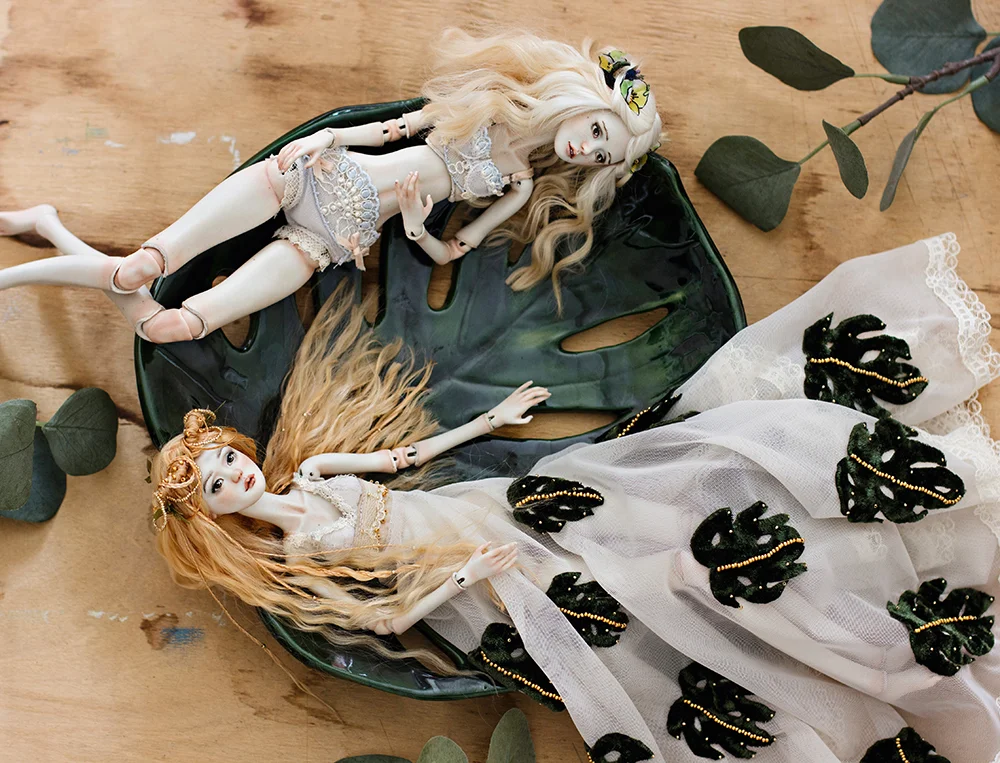
And here's the result I got:

I'll walk you through some basics and explain all the things I've mentioned before.
Window
I prefer to use natural light because it's free and I love the soft look and true colours that it lets me achieve. You don't need big bright windows, my studio has one small window and I've set my photography station near it. There's a popular misconception that you need sunlight to take pictures, actually overcast or indirect sunlight is much better because the shadows will be much softer and less dark.
White cardboard/paper
White cardboard or a piece of paper will reflect the natural light back to your object, this way you'll get more brighter and professional looking pictures!
Camera and tripod
I'll talk about my photography gear a little bit later in this article. You don't need a DSLR camera and good lens but it really helps to achieve better results. Before I could afford a camera and the lens, I borrowed one from my friend for a day or two, so maybe you can think of similar arrangement!
Backgrounds and props
This is the fun part because you can get creative and set the scene to make the picture interesting and grab the attention of the viewer. I have a few backgrounds that I've painted on some pieces of cardboard. I like to use vinyl adhesives with wood imitation as well so I don't get bored with my white table. For props, I use everyday objects like craft supplies, flowers, interesting pots and dishes, fruits, etc. Props are a huge part of my doll photography and I use them not only for my plush dolls but for porcelain ones as well!
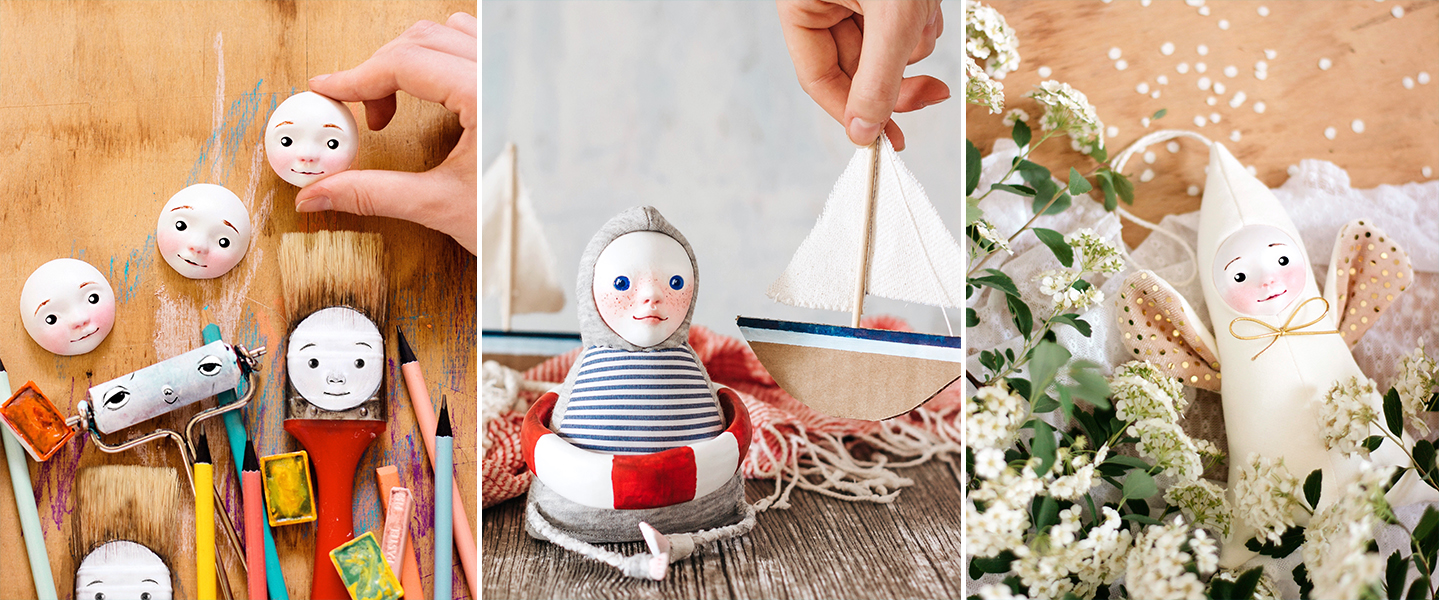
Some examples of props in my photos
Editing
Even the best photographers don't use pictures fresh out of the camera. Editing can bring your photos to life! Usually, I use Lightroom or Photoshop to brighten the photos, tweak colours, contrast and saturation a little bit. I try not to over edit my photos and keep them looking natural. Nowadays there are so many great photo editing apps like VSCO, Snapseed, Lightroom app, that you can edit your photos without a computer.
My camera gear
After a year of doll making, I finally invested in the DSLR camera and the lens. I still take pictures with the same camera only adding another lens to my collection.
Camera
Canon EOS 600D (called EOS Rebel T3i in the U.S.) - I've purchased just the camera body so I could choose a different lens. Kit lenses that come with the camera are good for beginners, but I've already tried different ones when I had the chance to borrow some from my friend and knew what lens I wanted.
Lenses
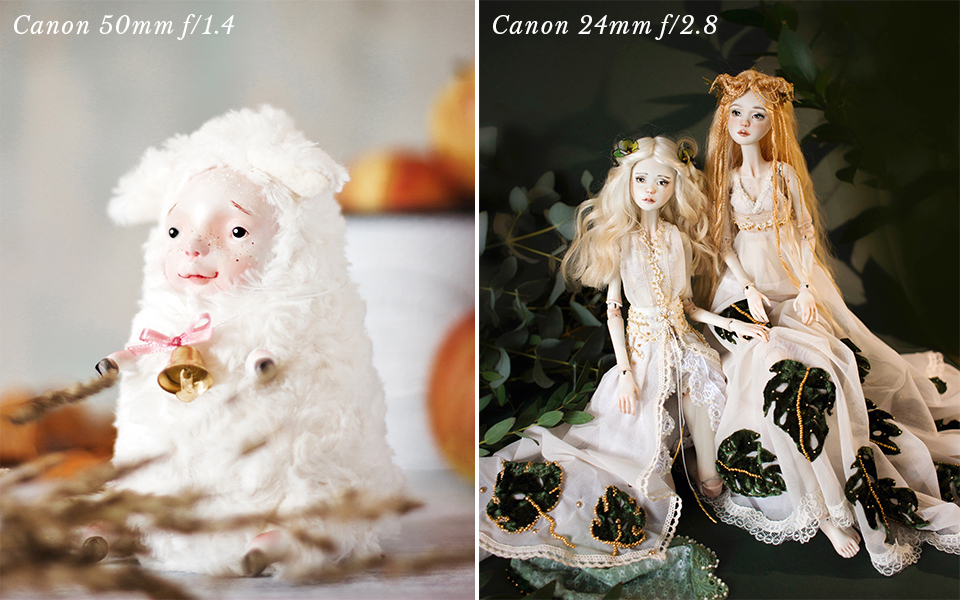
Canon EF 50mm f/1.4 lens and Canon EF-S 24mm f/2.8 lens. Most of my photos are taken with 50mm lens because it's really bright and performs great when your place don't get a lot of natural light. Also, it makes the background beautifully blurry (it's called bokeh)! When I want more detailed photos, where all the dolls are in focus or get the macro shots I use 24mm lens. It works great when I take pictures of such small details like hands or intricate shoes of the doll. You have to get quite close to the object to take macro pictures but because the dolls are not moving (thankfully, haha) it works wonderfully.
Tripod
I use a tripod most of the time so my photos always come out sharp even in low light conditions. Also, it helps when I want to include my hand in the picture. I set a timer or use a remote and take pictures without holding my camera. Because Canon 600D has an articulated screen, you can rotate it towards you and see what you're shooting from a distance.
As with any other skill, you get better when you do it for an extended period of time. Take lots of pictures! Think about how you can improve your images with interesting details and backgrounds. Try out a few editing apps and see if it makes a difference.
Let me know if you have any questions, I'll answer them in the comments below!

Craft photography fundamentals
My review of the online class that completely changed how I take pictures. I've learned how to use my camera properly, how to take pictures in natural light, use backgrounds, props and so much more!