
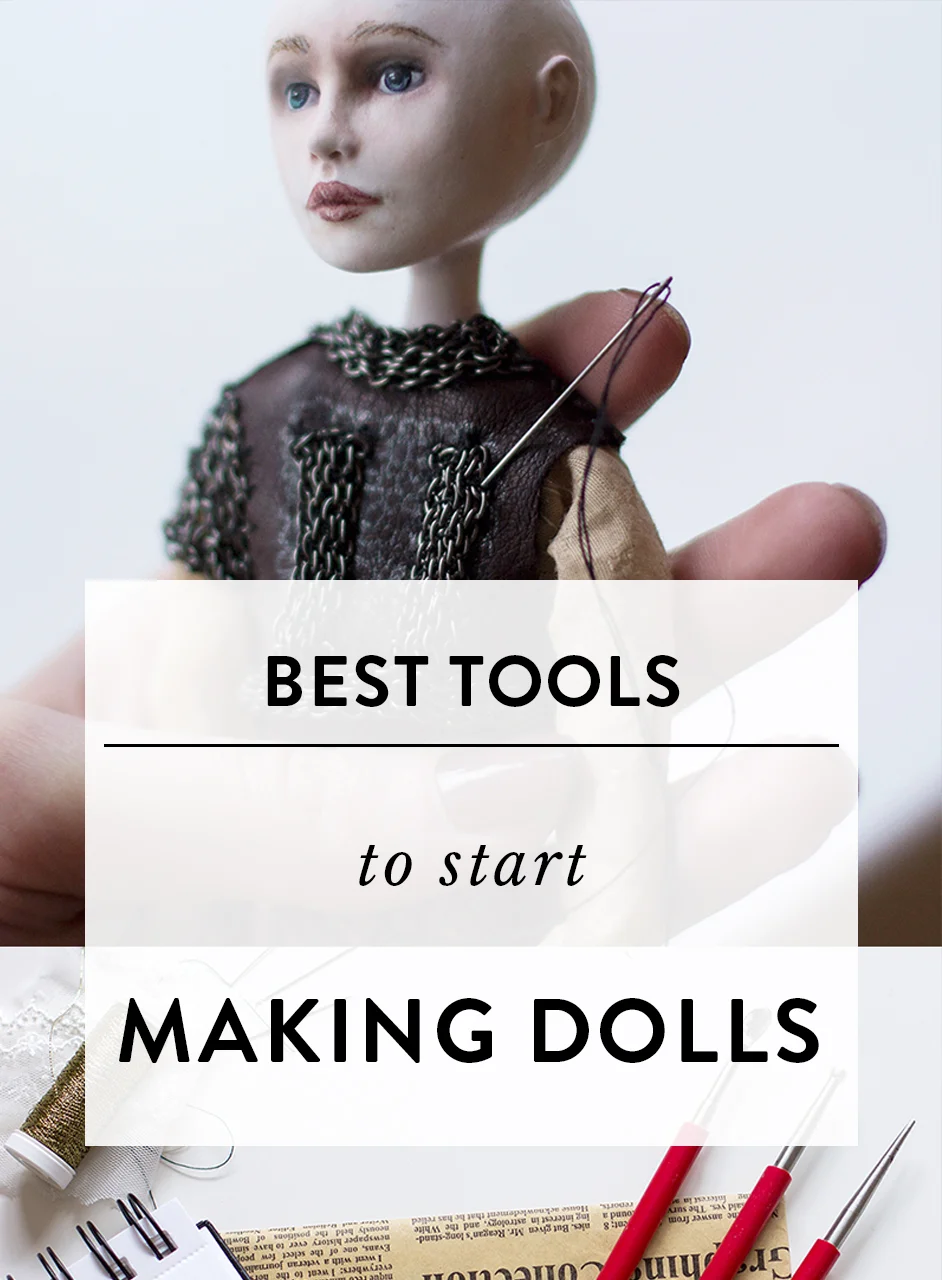
Tools that will help you achieve the best results
Finally, the second article in "Doll making series" - introductory series for my "Doll making classes". You've already learned about the best air-dry clays for doll sculpting and now wondering what you'll need to start making dolls? Or maybe you're on the hunt for some new tools? If that's the case, I've got you covered! Today I'll talk about the tools I use on a daily basis for over three years now. This gear includes items that have stood the test of time, remained extremely useful throughout changes in my dolls’ style and helped me get better in what I do.
This post contains affiliate links and I will be compensated if you make a purchase after clicking on my links. I wouldn’t promote anything I don’t absolutely love!
Sculpting tools

These are a must! But you don't have to invest a lot of money and buy professional kits for your first dolls. Something like this kit could be more than enough in the beginning. Although have in mind that sometimes cheap kits like this can be a little bit roughly made. If you're making really delicate dolls or you're creating dolls for a while now, face up to the fact that spending more money on better supplies will lead to better results. And definitely, will relieve you from unnecessary stress!

When it comes to sculpting I encourage you to be creative. Try to use unusual tools around you. Knife, chopsticks, knitting pins could be the best tools you've ever tried. I'll tell you a secret. I still do most of my sculpting with this knife. Even though I have some professional doll sculpting tools they're just not the same. I know this sounds ridiculous, but it's my favourite one to use.
Good scalpel with changeable blades

Over the years my techniques changed a lot. Not so long ago I discovered that carving is an absolute necessity when I work with air-dry clay. With a good scalpel, you can easily correct mistakes you've made at the sculpting stage, slice off an excess of clay from the doll parts, carve and perfect tiny details like hands or feet. You can use it even for sculpting if you like. The variety of blades will be useful for different tasks, I especially love those with pointy sharp ends. All the detailed work is much easier now.

For example, these hands are mostly carved out. They don't have a wire frame inside so fingers are sculpted in one piece without gaps between them. Once dried, the clay is easy to play with. You can shape fingers, carve gaps, engrave nails, and so on. A great technique for super small parts.
Sandpaper

Despite the fact that sanding for me is the least favourite part of doll making, it's still fundamental. That satin finish and perfect shapes are what make the doll sculpting complete. After all, when you can see the final result, those dust clouds don't bother anymore. I know that hard work always pays off. Be sure to get a few different grit sizes. If you're working with air-dry clays you'll never need very coarse sandpaper. I use three different kinds: medium, fine and very fine. Relatively soft sandpaper, with very fine abrasive particles, is what you'll need to achieve that satin finish for your dolls. In the early stages of doll’s body polishing I really like to use sanding sponges. They are easier to hold and more convenient to use. The only flaw is that you can use it only for larger areas. But it's still worth it. If I have a chance to make the whole process of sanding a little bit more enjoyable, I'm going for it!
Thin brushes for painting and sculpting

I'm reaching for thin brushes not just for painting. They are great for sculpting too! If you've read my article about air-dry clays you may remember that they have a quality to dissolve in water. Need to smoothen hardly reachable spots like lips, nostrils, toes, etc.? Water and thin brush always do the job. I use them when I need to do minor changes during sculpting and all of my tools are too rough for that. Surely the thin brush is irreplaceable for painting dolls too. Just make sure to keep them apart. They have a tendency to wear off pretty quickly, so use painting brushes just for painting, sculpting brushes for sculpting and you'll enjoy them longer.
Power tools. Dremel rotary tool for doll making

After a year or so in my doll-making journey, I noticed that doing everything mechanically, with my own hands, holds me back. I understood how much time I waste sanding wooden stands, drilling holes, engraving, cutting, etc. using just hand tools. I knew that doll making won't be just a hobby and I want to make a career out of it, I guess it was time to invest in it. I did my research and Dremel rotary tool was exactly what I was looking for. Changeable attachments and small sizes were perfect. You can do whatever you want with this piece if you have an attachment to it! The most useful tool for doll makers is Flex shaft attachment. Connect it to the main gadget, select the attachment and make art! You can hold it just like a pencil. Here's a video to make it more clear.
If you're making really small and detailed dolls like I am, I don't recommend going wild with the attachments on your first kit. I find the attachments in the default kit could be too big for your delicate dolls. I suggest trying out the kit with the smallest amount of accessories and then you'll see what's working for you or what you are missing. Dremel has so many accessories that you definitely will find something you need later on.
Check the comments section to see how a clever reader made a sanding tool from an electric toothbrush! This might be an incredible option if you don't want to spend money on a Dremel tool.
Wire. Various thickness
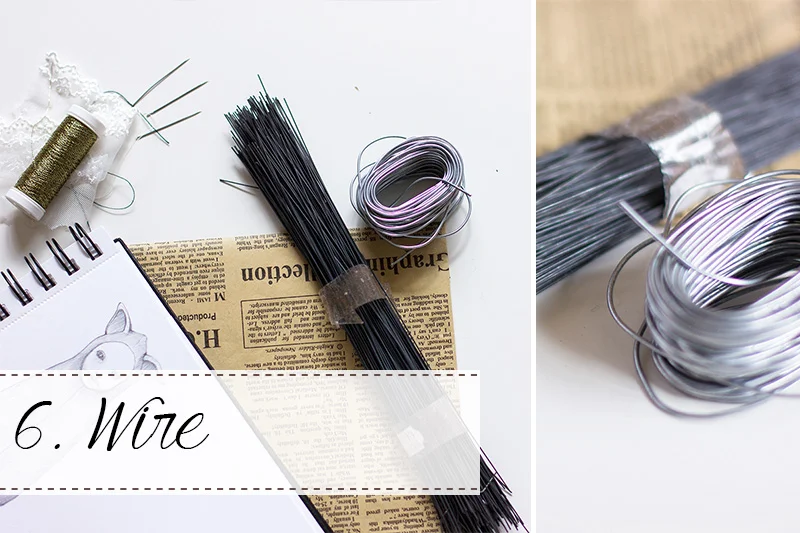
To make your dolls stronger you're going to need a wire frame. At the moment I use two different kinds. Super thin one for fingers and the thicker one for the rest of the body. Air-dry clay could be really fragile in places like the neck, hands, or feet. I feel that a good wireframe saved me a lot of nerves when I accidentally drop something or during shipping, which can be intimidating. Playing with wire frame you can change the doll pose or resolve standing and balance issues before the sculpting process. You can find some wire tutorials on our Pinterest board for doll making.
Painting tools and supplies

I think that perfecting your painting technique can take years. I am still not completely proud of my own. But I have a few tips that helped me a lot on this creative path. First of all, I never use heavy paints like acrylics or gouache to paint my dolls. I use white acrylics just for the base to prepare the surface. I found out that watercolours and soft pastels powder make the best effect. Grind the pastels into your sanding paper, dip a soft brush into the colourful dust and gently powder your doll. If you've done make-up at least once, it's a very similar process, like using eyeshadow or blush. And your softly blushed dolls will look so natural and lightweight. For eye painting and lips I like to use watercolours. You can start with an almost transparent layer and slowly build up the colours until you are happy with the result. I suggest investing a little bit more in your watercolours palette. I tried many different brands and was convinced - quality comes with the price. St. Petersburg watercolours and Schmincke watercolour pans are great choices. Talking about soft pastels, personally, I use a combination of Derwent pastels and Faber-Castell soft pastels. For very fine details, add some watercolour pencils to your arsenal as well!
As you can see I don't use a lot of stuff. I think great ideas and a willingness to learn should always come first. If you have wanted to make your own doll for a long time, there are no excuses now, haha, just start. Start with the basics!
If you want to learn more about doll making and create your own doll using the same techniques I use, check out my Doll making classes!

If you want to join doll makers Pinterest board for tutorials write me your email address and I'll invite you! Also don't forget to subscribe to my email list for special offers, latest news or discoveries and join our beautiful doll lovers community.