Create your own plush dolls for the Holidays
At the end of November, I’m always feeling like an elf or a Santa’s helper, haha. In my Etsy shop, which consists mostly of plush dolls, it’s the busiest season of the whole year. Squishy and fluffy dolls can become wonderful stocking stuffers, little gifts for grandma or even tree ornaments. From sparkly angels to festive snowmen - created to spread the Christmas cheer. Over the years, I’ve shared a few tutorials and techniques to help you create a plush doll for yourself. In this article, I want to put all of them together and bring you the ultimate guide on how to create a Christmas plushie for yourself!
Sculpting the face
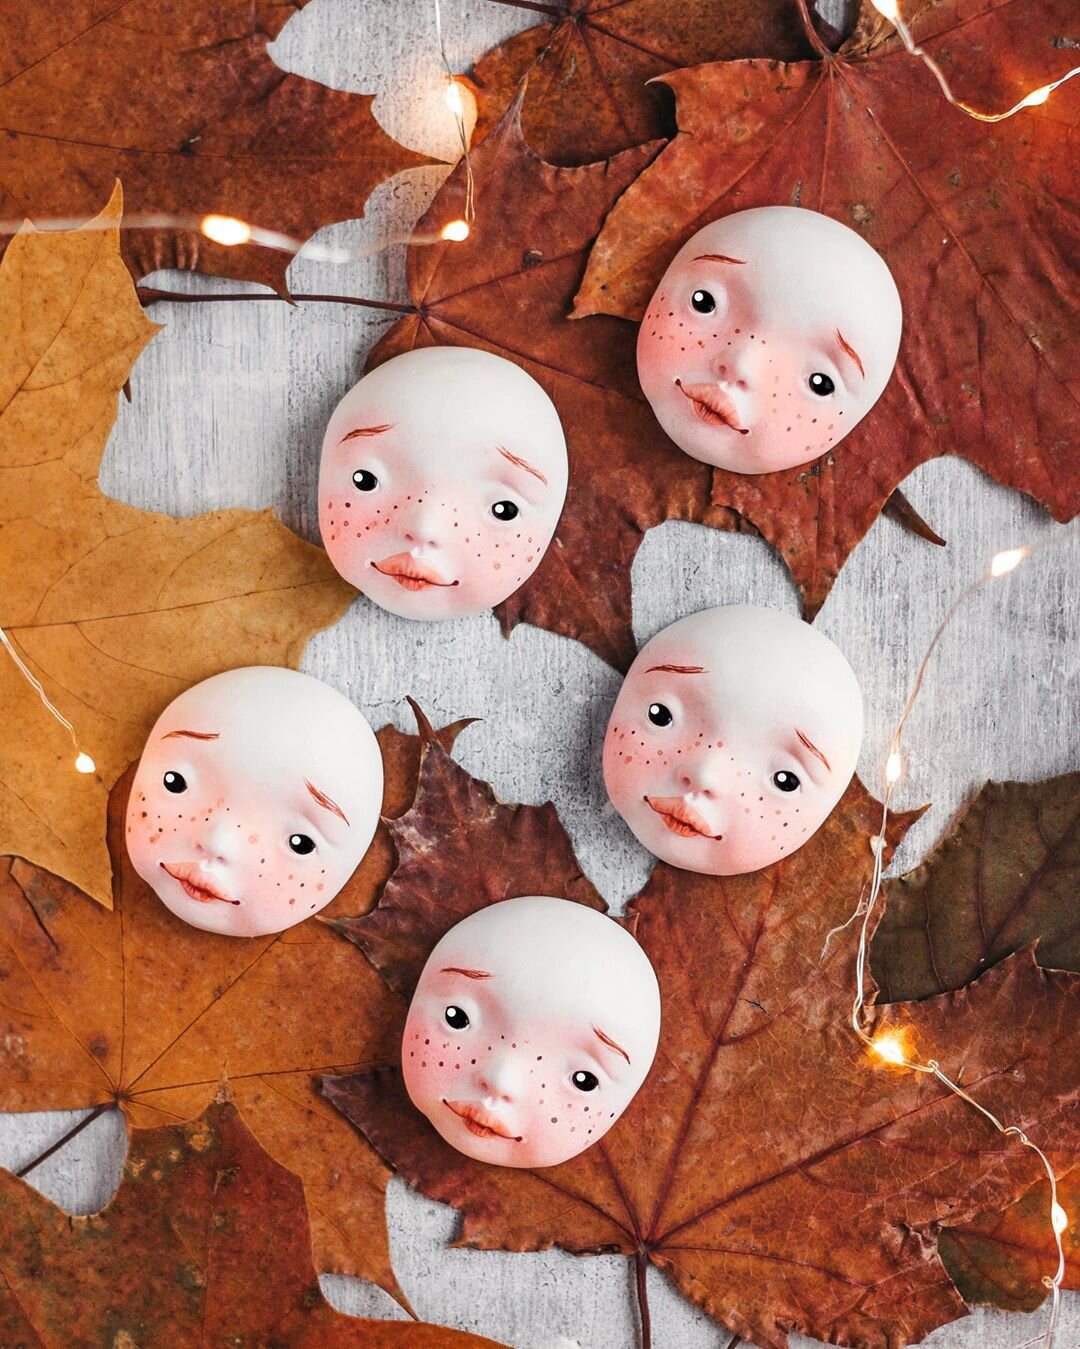
If you follow my work, you’ve probably noticed that all of my plush dolls have sculpted faces. It’s such a distinctive detail of my dolls, I can’t imagine it being any other way. I have two step-by-step tutorials on how to sculpt these faces. You just have to pick which one you like the best!
Deciding on the sewing pattern
There are loads of incredible sewing patterns on the internet, you just have to think about what creature you’d like to make beforehand. In one of my articles, you can find a very cute elf pattern that can be hanged as an ornament. If you have a vivid idea of the doll you want to make, try to create a pattern yourself!
Selecting fabrics and decorations
For small ornaments and angels, I like to use slightly stretchy fabrics, for example, thicker T-shirt material or lovely wool blended with elastane. If you’re making animal dolls or fantasy creatures - fluffy soft fabrics always look great! Don’t pick a fabric that is very thin because it’ll poorly hold its shape and you’ll have a hard time stuffing the doll evenly.
Decorating is probably one of the most exciting parts of the whole process. You can add bows, bells, embroider them with beads, sew on lacey trims, etc. Let your imagination run wild!
Putting it all together
Once you have sewn the body, it’s time to stuff it. I usually use polyester stuffing so the dolls would be very squishy and nice to the touch. If you want to go the more natural route, try stuffing it with rice or wood shavings. Cotton or wool toy stuffing is also very commonly used. I have some dolls that are stuffed with dried lavenders, so you can experiment with scents as well.
Attaching the face is the tricky part. Once your doll is fully stuffed, attach the face to the opening by using glue. I like to use translucent rubber glue that stays elastic even after it dries, this way the fabric won’t harden around the edges and will remain soft to the touch.
More useful resources
If you need a step-by-step guide on how to create some of the designs I offer, feel free to check these tutorials. Handy PDF e-books will guide you through the process from start to finish.
Cristmas angel - doll making tutorial
What could be better than cozying up with a cup of hot chocolate and make something for yourself and your loved ones? Try this Christmas decoration tutorial and surprise yourself with the festive results.
Also, if you don’t feel like sculpting your own faces, you can pick up some painted or blank sets in my shop as well.
I hope you’ll have fun creating your own dolls! Don’t hesitate to share your results on Instagram and tag me @adele_po so I could see it. Let me know if you have any questions in the comments below.
How do I paint my dolls?
Do you ever get this feeling, when you have a beautifully sculpted doll in your hands and you're afraid to ruin it with paints? At the beginning of my doll making journey, I've been getting this a lot. It's so frustrating when you can't fulfil the image you have in mind. In this article, I'd like to talk about the best materials and techniques I use to paint my dolls, so we could put all the annoyance behind our backs!


