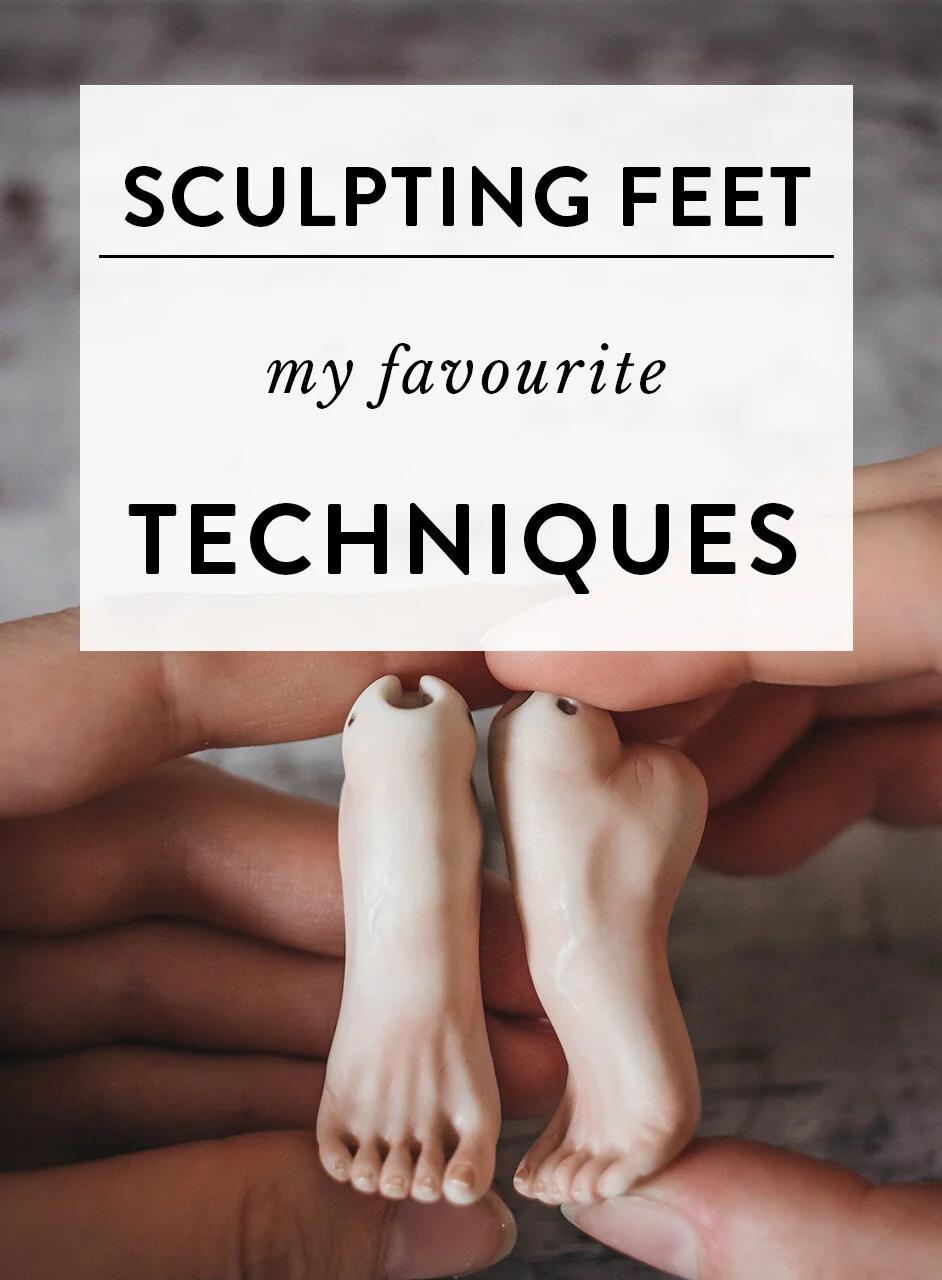
Sculpting feet - my favourite techniques
About a year ago, I wrote an article about sculpting hands and my favourite techniques. This time I want to bring up another difficult part of the doll's body - feet. The complicated nature of this body part usually causes difficulties when sculpting and detailing. I’ll try to break the process into a few manageable parts and touch on materials, tips and tricks that will help you along the way!
This post contains affiliate links and I will be compensated if you make a purchase after clicking on my links. I wouldn’t promote anything I don’t absolutely love!
MATERIALS
Good quality clay - I usually use “La Doll”, “Premier” or “Creative Paperclay”. You can read more about these clays in this article.
Soft brushes - for shaping and smoothing the clay.
Sculpting tools and a scalpel - the assortment of sculpting tools will be useful for sculpting different parts of the feet. I use a very pointy and sharp scalpel for carving the toes.
Sanding paper - to polish the finished sculpture.
PVA glue - if you want to strengthen the air-dry clay.
Start with a drawing
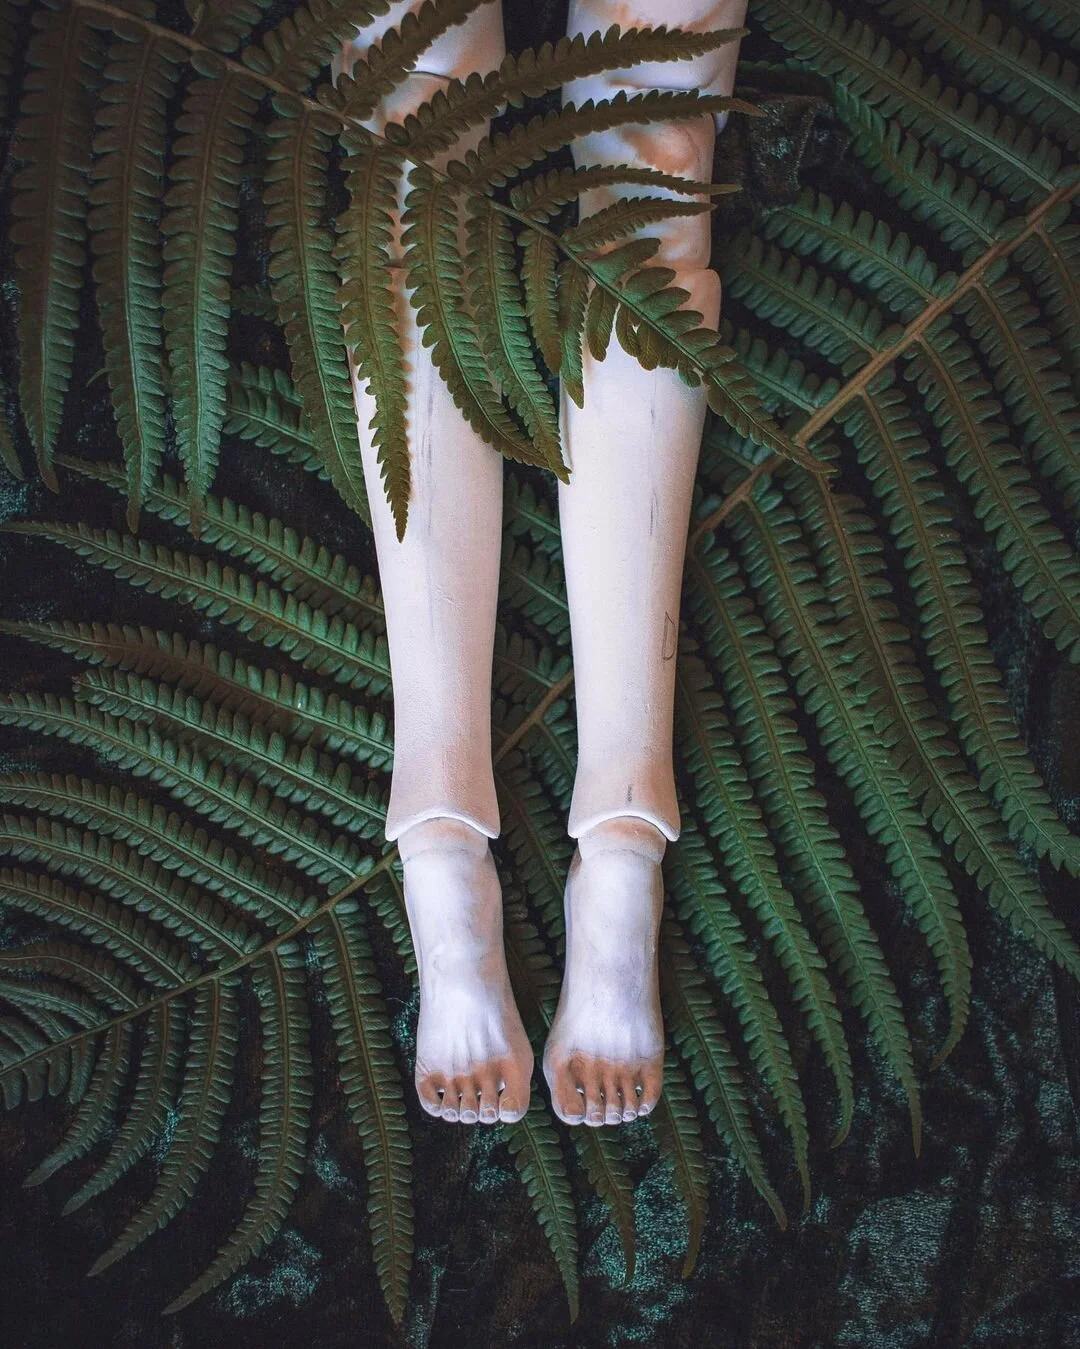
Before sculpting the feet I like to draw the reference or use a full blueprint of the doll. You can find a lot of pictures and references online if you don’t feel comfortable drawing one yourself. Have in mind that the human foot is approximately the same size as the head, so keep measuring it when sculpting or drawing the reference.

Photo: Pinterest
MY FAVOURITE TECHNIQUES
I use a mix of sculpting and carving techniques to achieve most of the detailed shapes. Usually, sculpting tiny toes is an unattainable task, since air-dry clay can be too soft for it. Carving is what works better for me!
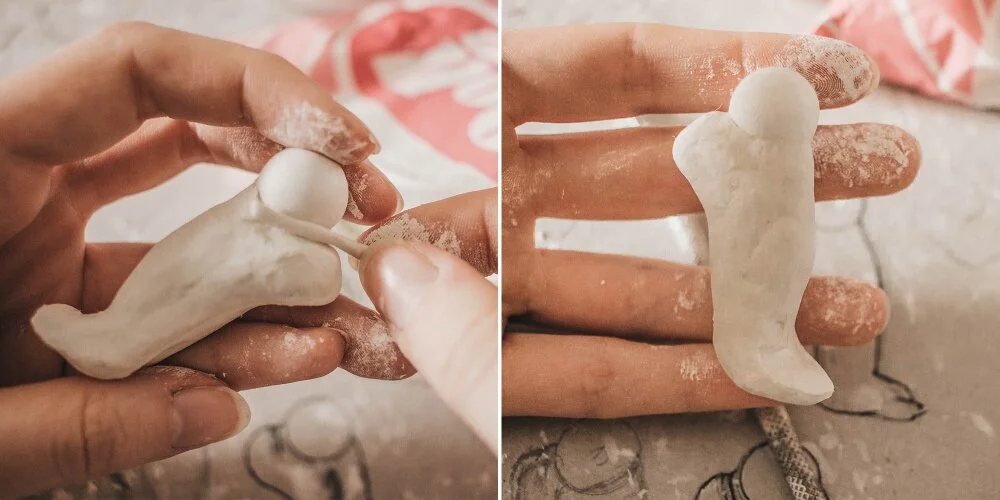
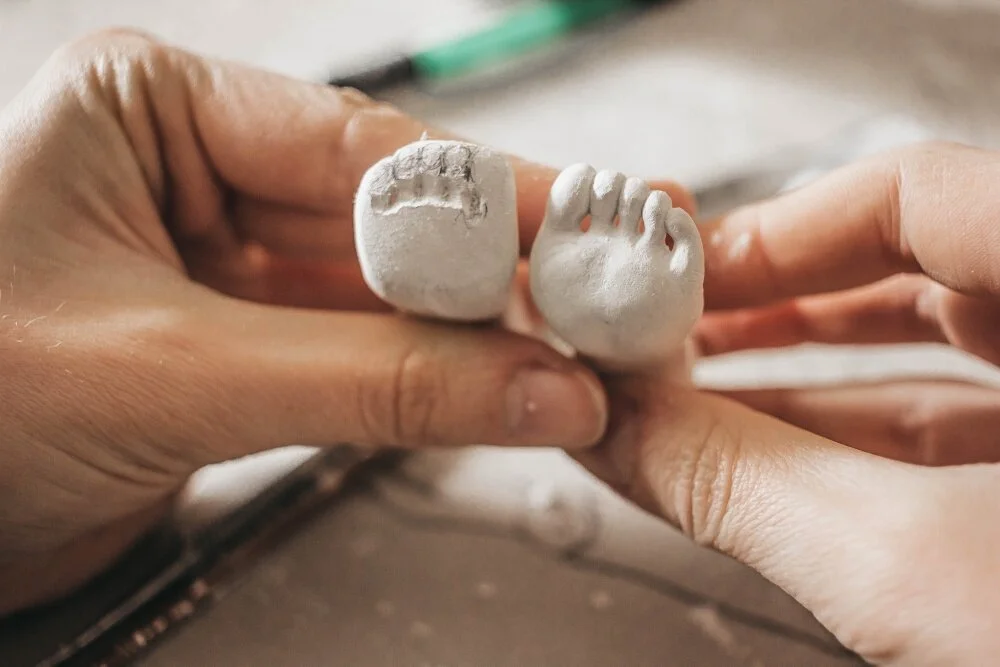
Rough shape
At first, I like to sculpt a rough shape of the foot and leave it to fully dry. This approximate shape doesn't have to be perfect but it has to be the right size and proportion from the get-go. Remember to measure it in accordance with the whole doll.
Drawing the details
Before the detailing, I like to draw the toes and other details on the rough sculpture. It helps me to visualise the end result and guides me throughout the carving process. It helps to sand the clay a little bit before drawing.
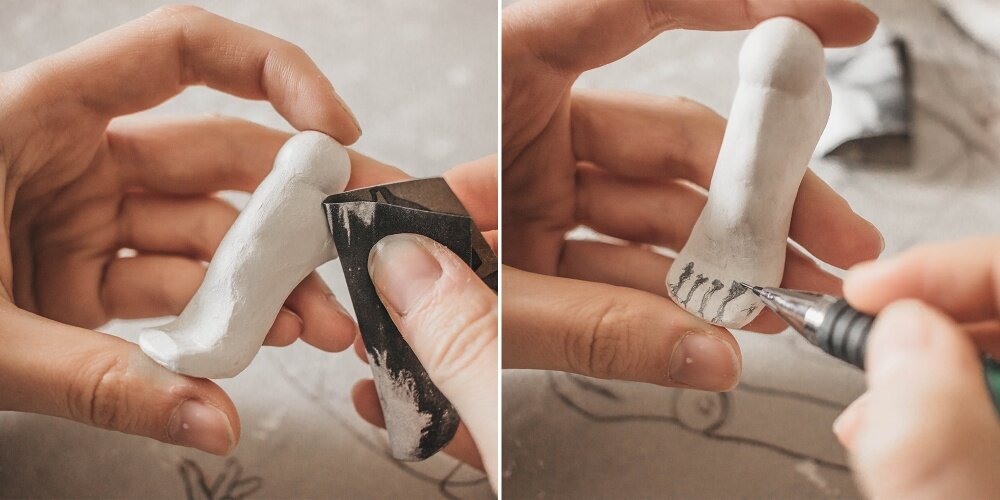
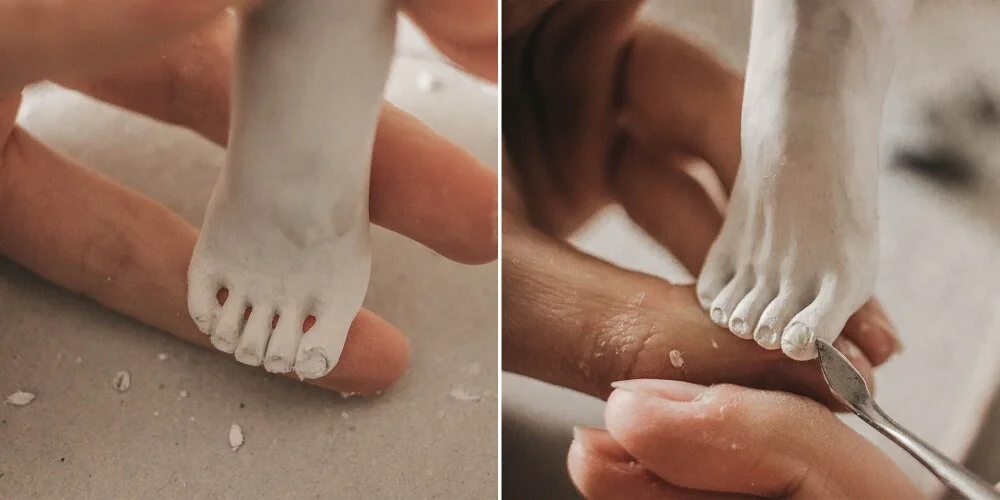
Carving
Using the x-acto knife or a scalpel, I start by cutting the gaps between the toes and slowly carving rough shapes.
Switching between the scalpel and the sanding paper you can shape the smallest details. Arm yourself with patience, it’s not a quick process and you might need to add some clay here and there if you see that carving doesn’t give you the results you seek.
Usually, I need to add more clay when detailing the nails.
Sanding
Even when all the details are sculpted, sanding is a must if you want to refine them. You don’t have to sculpt every bump or skin fold, but smooth and polished shapes give the sculpture a finished look. To reach all the crevises, fold the sanding paper into a triangle and use only the tip!

I hope this overview helped you with this difficult process. If you need more detailed tutorials check out my doll making classes. How do you sculpt the feet? Share your tips in the comments!