How to make a wig for a doll?
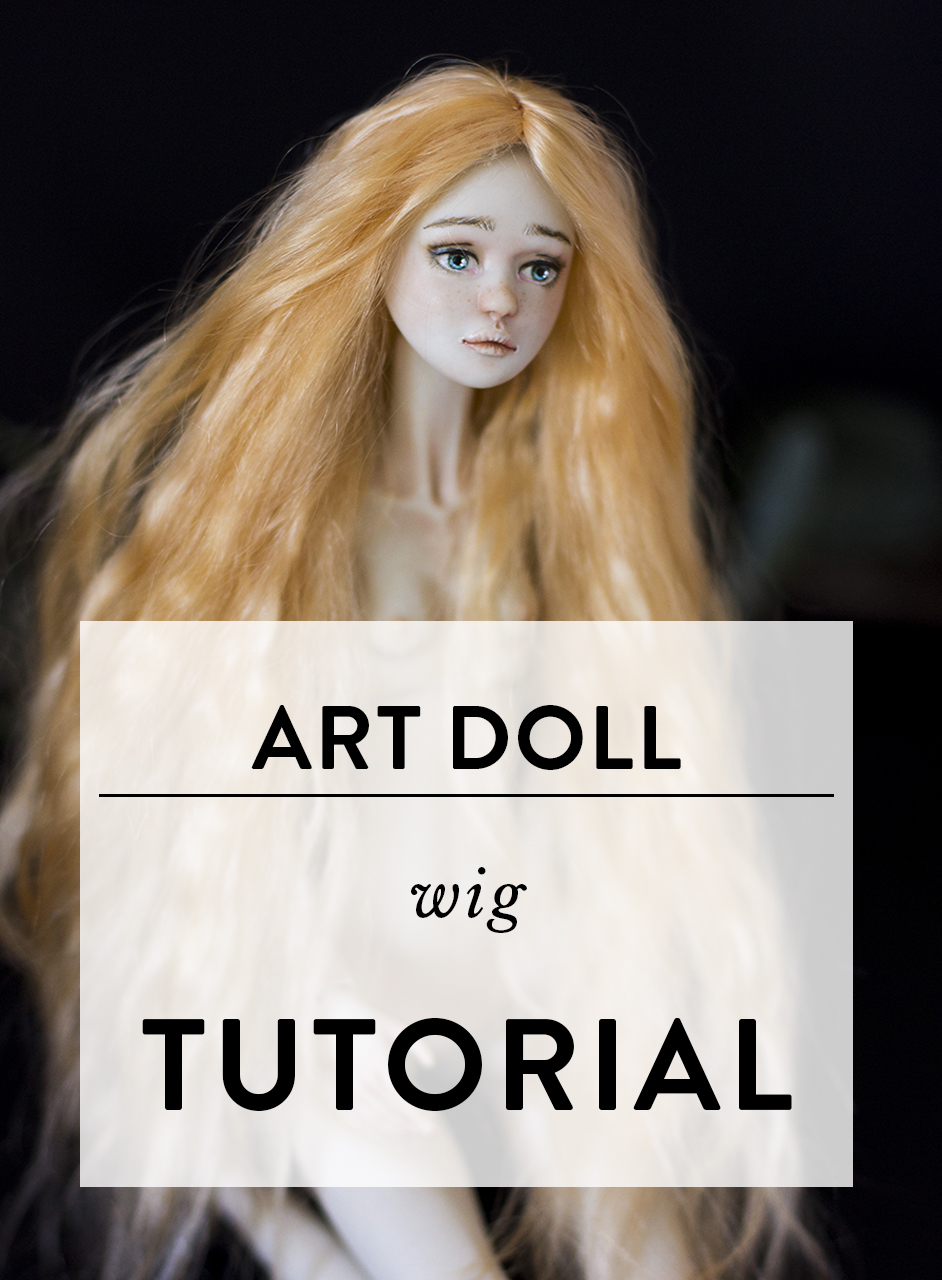
A hairstyle, that your doll wears, is such an important element shaping the whole character of a doll. It's even more fun if you could change the hair depending on the doll's costume or your mood! In either case, the big questions remain. How to attach doll hair? And how to make a wig for a doll? So now I’ll take you through the steps of making this fancy looking but rather simple wig.
If you want video tutorials like this, consider joining my Patreon for only $5/month.
Without further ado, let's create a wig! You can attach the hair to the doll itself and skip the wig cap making steps if you want. Keep in mind that you won't be able to change the hair later, but some dolls look best with one particular hairstyle!
1. Preparation
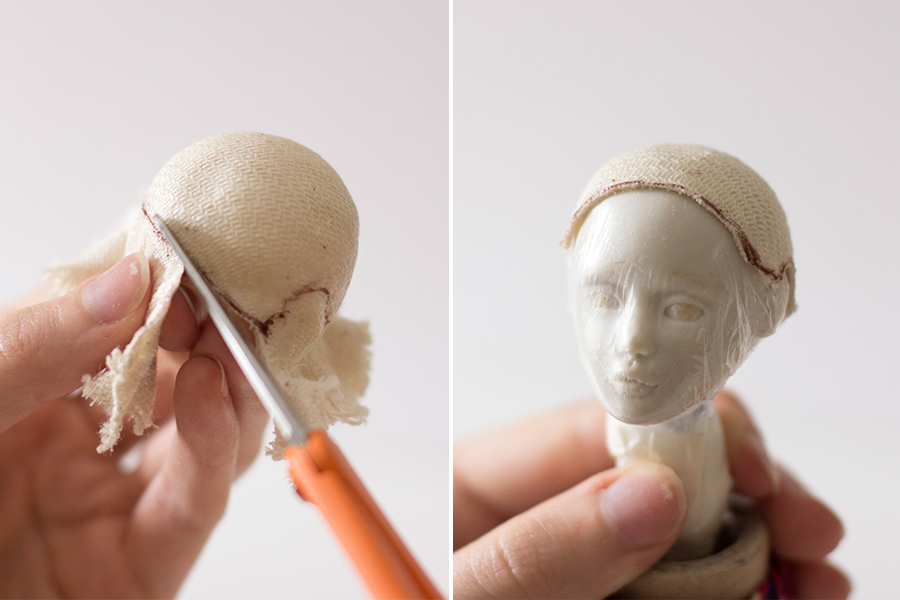
This time I'll be using just the doll head, but you can make this wig using the whole sculpted doll. Either way, it's important to cover your doll with the saran wrap so it won't be damaged in the process. For a wig cap, I'm using a piece of dense cloth but even the old t-shirt will do.
2. Securing the cloth
Take your fabric and secure it with a rubber band. It doesn't have to be perfectly smooth but I like to push the folds to the front so I could cut them out later.
3. Adding the glue
Coat the whole wig cap with a thick layer of glue. Use PVA/white Elmer's glue. Wait for it to dry.
4. Making a wig cap
When the glue is completely dry, draw the hairline onto the wig cap and cut the edges.
See how it looks and trim the edges more if needed.
5. Attaching the hair
I like to use Suri alpaca or mohair goat locks for my dolls. The main advantages of mohair and alpaca locks are the length, easy styling with heat, simple dyeing process.
Take a small section of hair and trim the edges to make them neat.
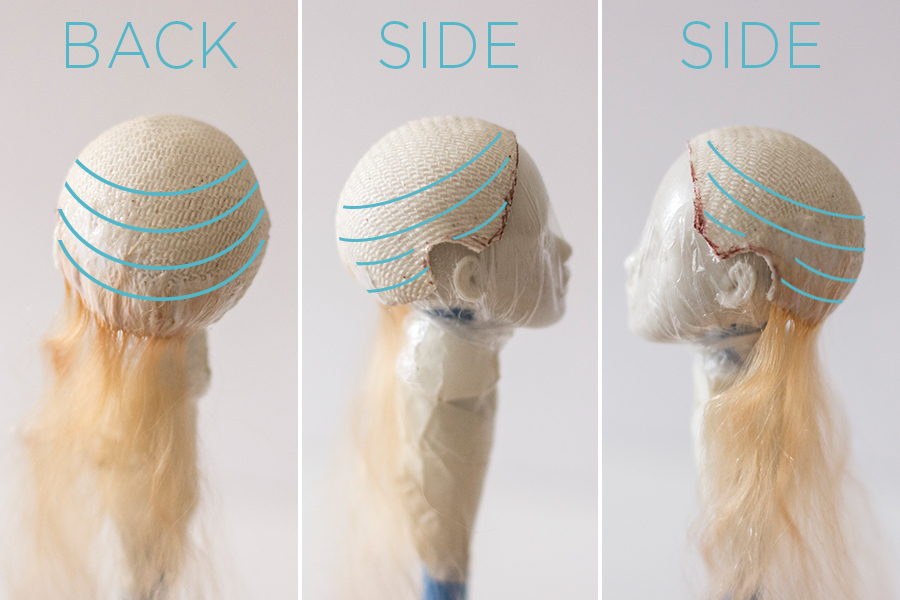
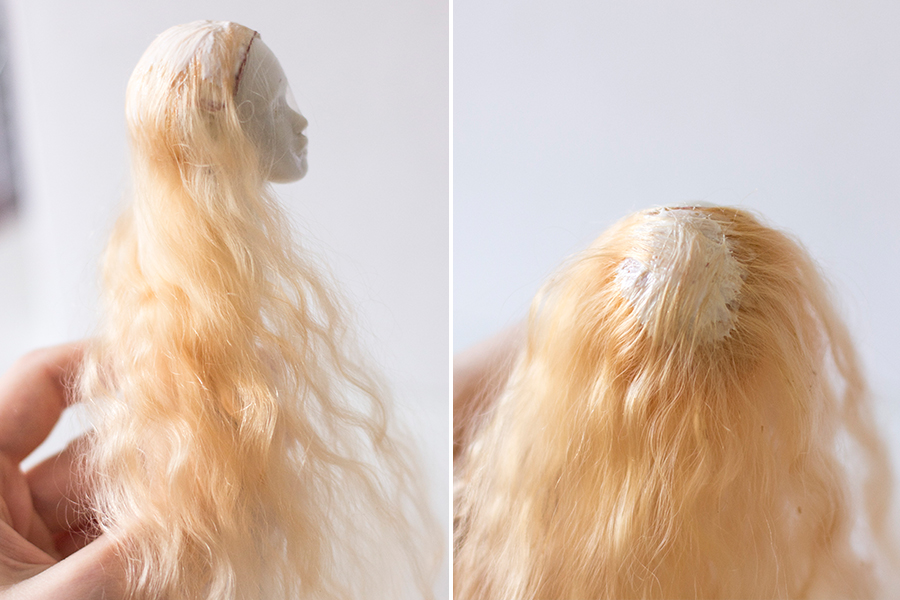
Place each section on the wig cap and secure them with PVA/Elmer's glue. Work in layers adding small sections of hair above the already glued ones.
Continue to do so until you reach the top of the head. Remember to use a little bit more hair than you initially intended to because some of the hair will fall out later.
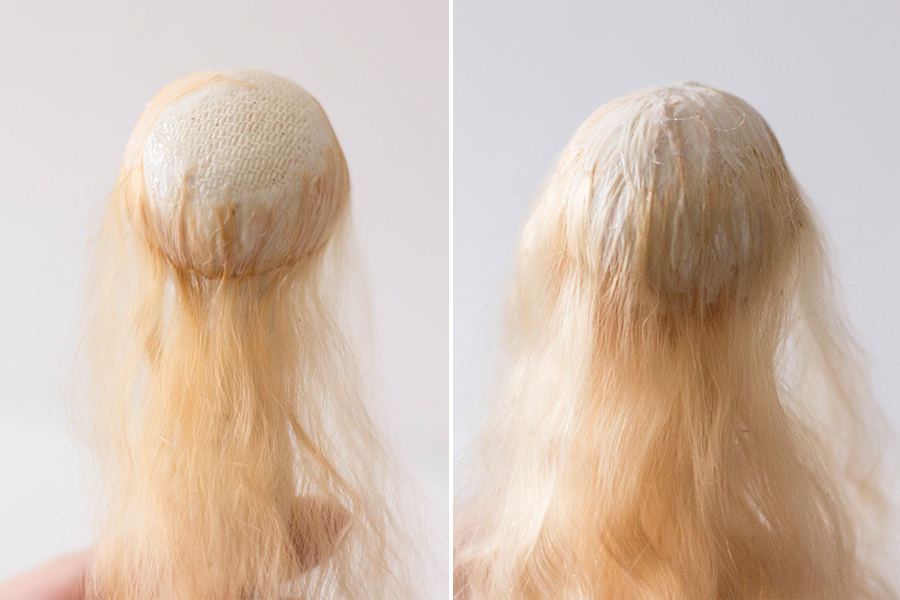
When you reach the top of the head it's time to make a parting.
6. Creating a parting for the wig
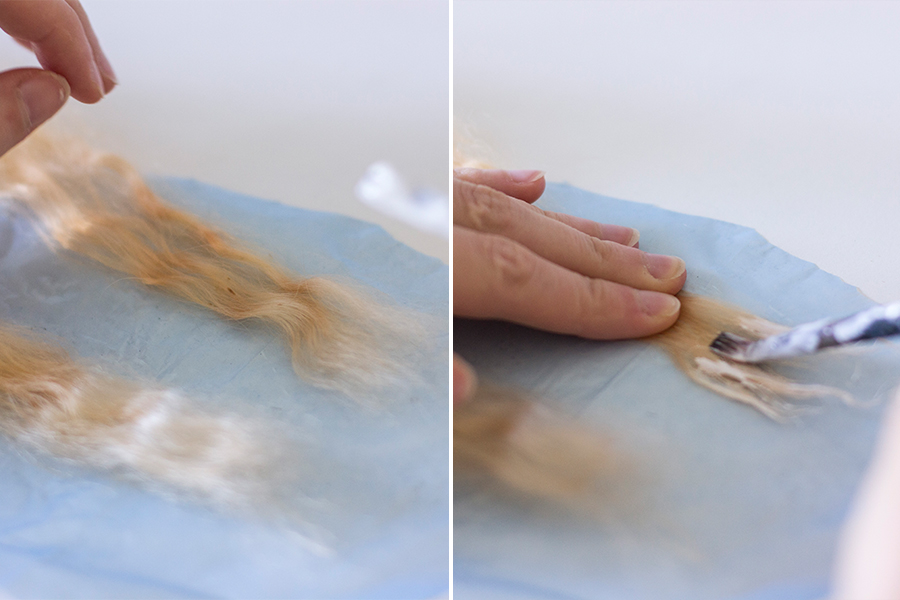
Take two fuller sections of hair and coat the edges with glue. Lay the plastic bag under so the glue won't stick to the surface. When the glue is almost dry, put both locks on top of each other and glue them again.
When the glue is dry, trim the edges to make them neat and straight.
Split the locks into two parts again and here's your parting! To make it lay flat, press it down under the pile of books for a few minutes.
Glue both of the locks on top of the head. This final piece will hide all the glue and imperfect edges. Be careful and use just a little bit of glue! Leave it overnight to dry.
7. Styling
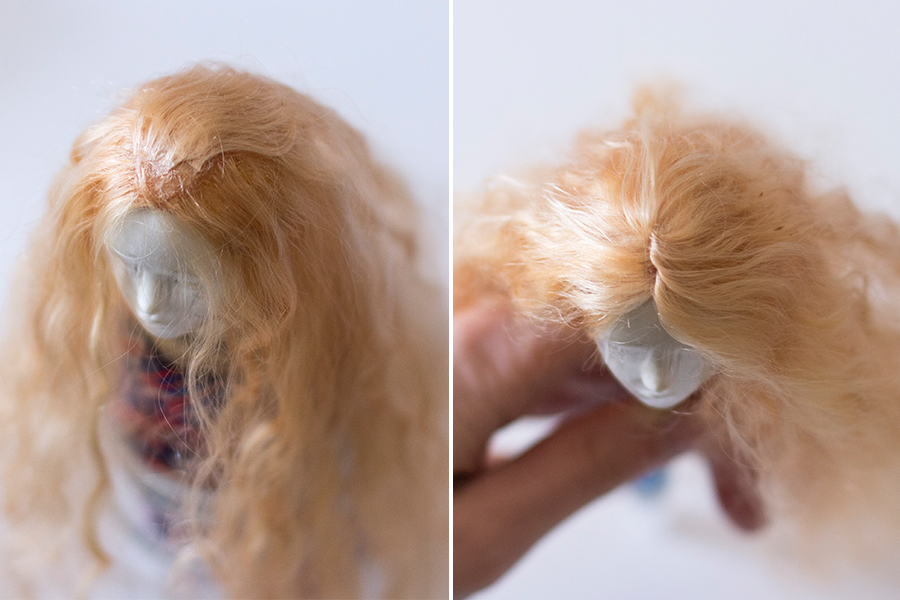
Brush the hair to get out all the bits that got tangled in the process. This will make your wig smooth and ready for styling. Don't freak out when you see that some of the hair starts falling out it's completely normal! For styling, you can use heat and almost all hair products that you'd usually use for yourself.
To create gorgeous curls, wrap the hair around the pencil or some sort of tube and apply heat. This time I've decided to leave them quite natural. Here's the finished result:
As you can see it's not that complicated! Do you have any other techniques to make a wig for a doll? Let me know! If you have any questions leave a comment down below and I'll try to answer it. For more tutorials check out my Patreon and don't forget to subscribe so you won't miss any of them in the future.

