
Miniature art doll shoes tutorial
In my “Doll making classes” I promised I’ll make more free tutorials about bits and pieces, I didn’t cover there. For example, in costume making class I talked about one kind of shoes, but there are so many types of those out there! So now I’ll take you through the steps of making these fancy and adorable miniature art doll shoes.
Make sure to check my doll making classes for more techniques and tutorials! Very suitable for beginners, these classes will guide you through the process of creating an art doll from the comfort of your own home.

1. Tracing the foot

On a thin cardboard trace the dolls feet. We’re making a sole for the shoes, so measuring the size accurately is very important.
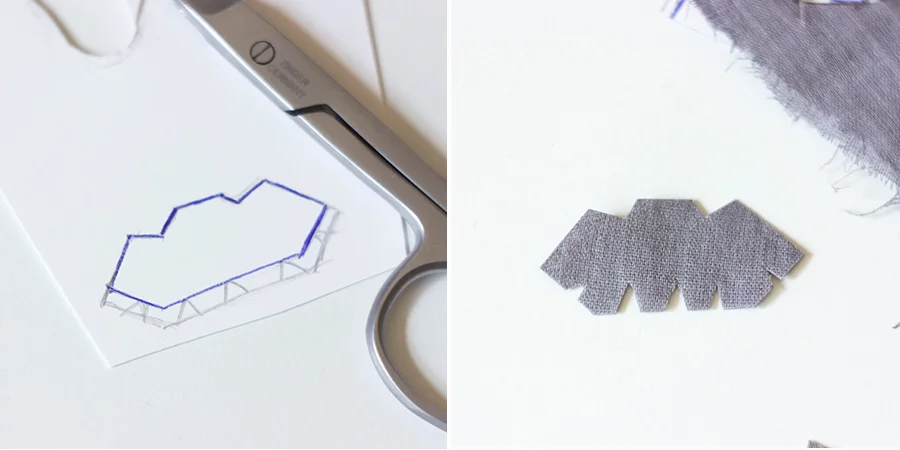
2. Defining the shape of the sole

The shoes we’re making have a slightly pointed front part, so the shape I’m drawing is bigger than the dolls feet.
3. Bending the sole and making heels

When you’re happy with the shape of the soles, cut them out and bend them in two places as shown in the picture. For heels, I’m using two thicker cardboard pieces glued together.
4. Defining heels
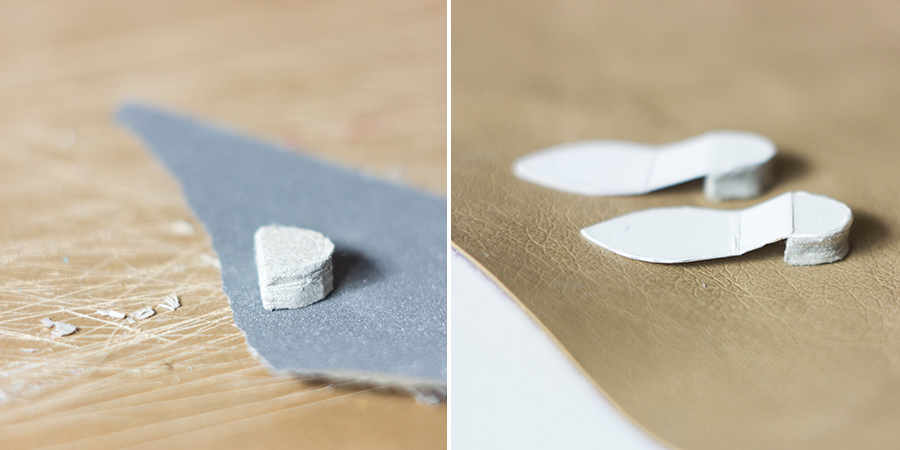
Cut the heels out and sand them with a sanding paper or a Dremel rotary tool if you have one. The key is to polish the heels until they’re even and you can’t see layers of the cardboard.
5. Front parts of the shoes

Measure the front part of the dolls feet: length and width. Draw the front pattern on paper and make it slightly bigger than your measurements. That extra fabric will be folded and glued to the sole.
6. Adjusting the front part of the shoes
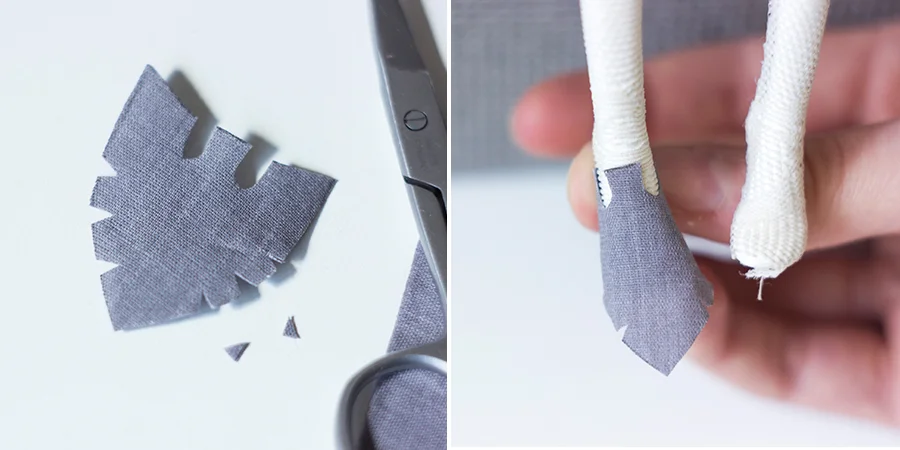
In that extra space of the fabric cut out small triangles. This will make the fabric wrap around the feet seamlessly. Check how it looks on your dolls foot. Make adjustments if needed.
7. Glueing the front part of the shoes to the feet
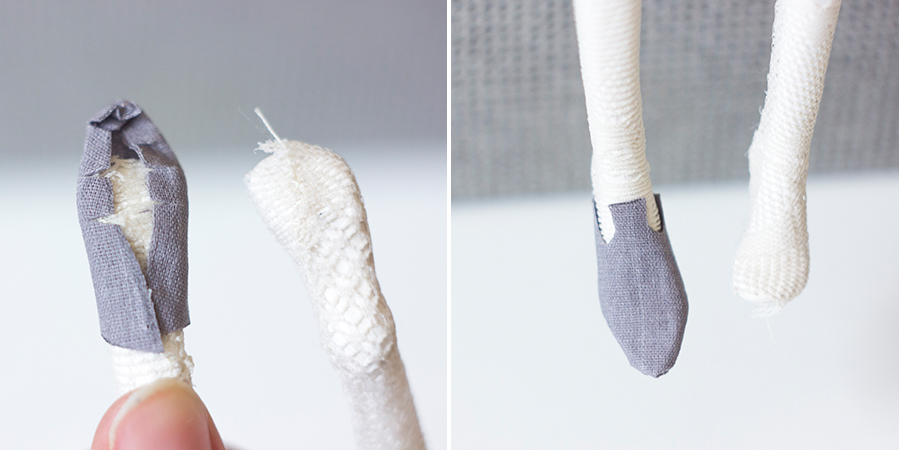
Add a little bit of glue on the front and bottom part of the foot. Carefully place the front part and fold the excess fabric to the sole. As you can see there’s an extra space left in the front which will form that pointy nose of the shoe.
8. Back parts of the shoes
Measure the back part of the foot and draw the pattern in a similar way as you drew the front part. Leave some extra fabric for the folds and cut out little triangles. The center of the pattern is where the heel goes, so you can adjust the sides depending on the length of your dolls feet.
9. Glueing the back part to the feet

Add a little bit of glue and stick the back part to the heel as shown in the picture. Fold the excess fabric to the sole and glue it once more.
10. Making the sole
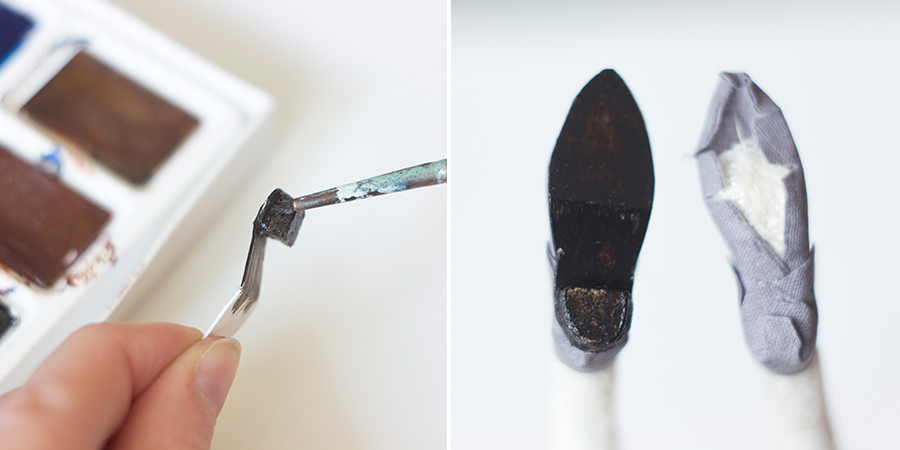
Take the sole we made earlier and paint it. Once it’s dry, glue the sole to the bottom of the foot.
11. Finishing the edges
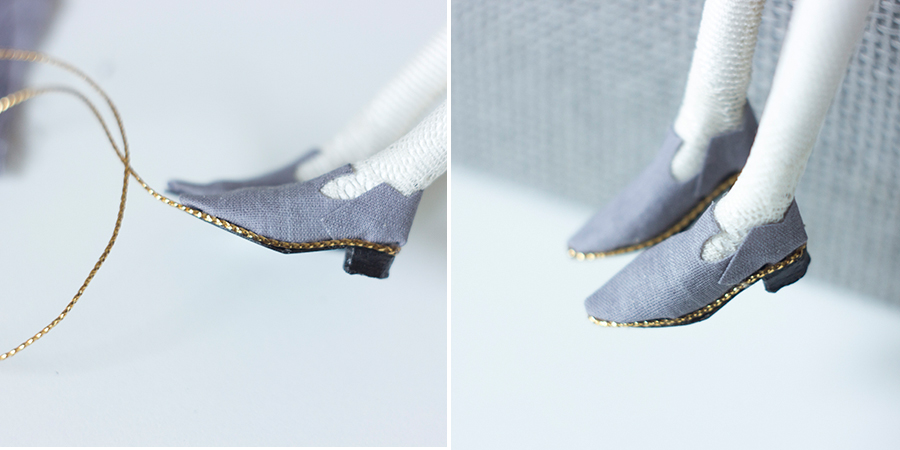
To make the shoes look complete and avoid the gaps, which may appear, we have to finish those edges between the fabric and the sole. For that, I’m using a gold string and glueing it to the shoes. A thicker thread, twine etc. will do as well.
12. Making straps
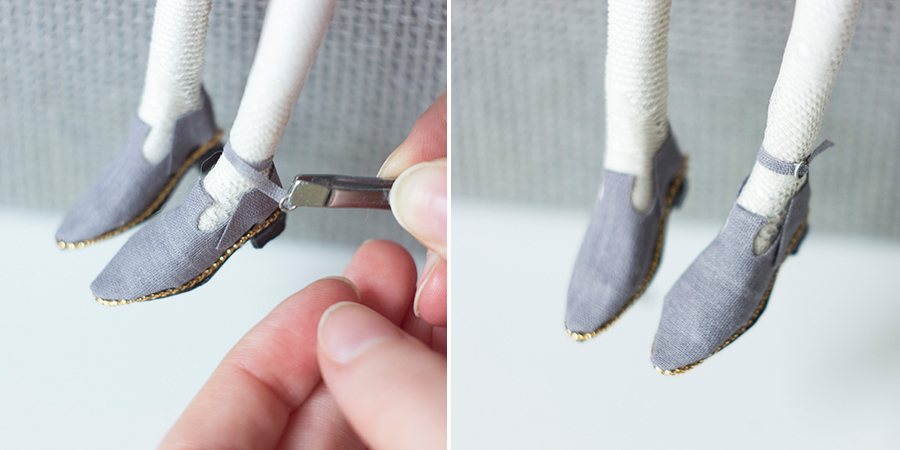
For a more interesting design, I’m adding small straps around ankles. I’m using the same fabric and small chain links. Glue the strap to the back of the shoe and wrap it around the ankle. Put through a chain link and add a little bit of glue so it stays in place.
13. Decorating shoes
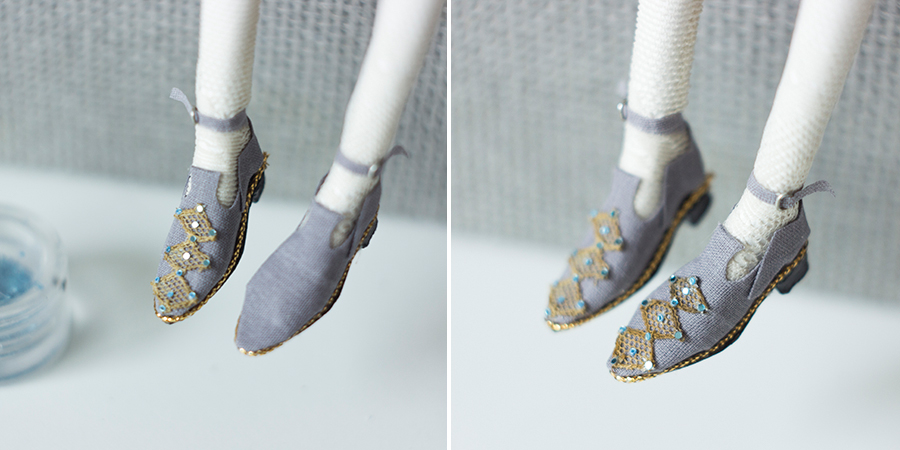
This step is completely optional and you can do anything that suits your dolls costume. I’m using a geometrically shaped lace and tiny particles which are used for nail art. Glue them together and voilà! I’m absolutely pleased how these shoes turned out.
I hope you enjoyed this miniature art doll shoes tutorial and learned something new today. Share your result in the comments! If you want more tutorials like this, please check my “Doll making classes” where you can learn every little step from sculpting to the costume making!
Also, don’t forget to subscribe to my monthly letters and join this beautiful community of doll lovers. Every month I send out a lot of useful tips on doll making, stories from behind the scenes and special offers in my Etsy shop. I hope to see you there!